Introduction to Dutch Oven French Bread
Why Make Bread at Home?
Have you ever considered the joy of baking your own bread? Making bread at home isn’t just a culinary task; it’s an experience that connects you with the age-old tradition of baking. When you think about it, there’s something magical about transforming simple ingredients like flour, water, and yeast into a warm, crusty loaf. According to the American Bakers Association, nearly 90% of Americans enjoy bread, but very few take the leap to make it themselves. Why not be part of that rewarding 10%?
Baking your own Dutch Oven French Bread allows you to craft a loaf that’s uniquely yours. Plus, think about the benefits:
- Control over ingredients: Avoid preservatives and artificial additives.
- Cost-effective: Homemade bread can be much cheaper than store-bought.
- Creativity: Experiment with flavors, shaping, and techniques to make it your own.
The Charm of Freshly Baked Bread
Imagine the inviting aroma of freshly baked bread wafting through your home—a scent that instantly brings comfort and warmth. There’s something about slicing into a freshly baked loaf, revealing the soft, airy interior and crusty exterior, that just feels right. It’s not only about nourishment; it’s about creating a moment of joy.
When you prepare your own Dutch Oven French Bread, you’re not just feeding your body; you’re also nurturing your soul. You can enjoy making it solo or involving friends for a fun baking session. The process engages your senses and can even reduce stress levels, as the act of baking has been shown to have therapeutic effects.
If you’re concerned about complexities, fear not! Using a Dutch oven is one of the easiest ways to achieve that perfect crust and soft crumb—no artisanal baking experience required. It creates an ideal environment for bread to rise, and it traps steam to create that delectable crust we all crave.
So, are you ready to dive into the world of artisan bread-making? With simple ingredients and a bit of patience, you can have a delightful homemade loaf that’s perfect for sandwiches, toasting, or even just enjoying with a touch of butter. Ultimately, there’s nothing quite like the satisfaction of pulling a beautiful loaf from your oven and sharing it with loved ones.
If you’re eager to get started, check out more on the history of bread at The Bread Lab for inspiration.
Ingredients for Dutch Oven French Bread
Essential ingredients you’ll need
When crafting the perfect Dutch Oven French Bread, the ingredients play a crucial role in achieving that crusty exterior and soft interior. Here’s what you should gather before you start:
- Bread Flour: This is the foundation of your bread. It contains high protein, which gives the bread its structure.
- Water: Use room temperature water for best results; it helps activate the yeast.
- Yeast: Active dry yeast is a great option for rising that dough.
- Salt: A pinch of salt enhances flavor and controls yeast activity.
- Olive Oil: Adding a touch of oil enriches the dough, giving it a lovely flavor.
You can find quality bread flour at King Arthur Baking or your local grocery store.
Choosing the right bread flour
Selecting the right bread flour is vital for your Dutch Oven French Bread. Ideally, look for a flour that has at least 12-14% protein content. High-protein flours develop strong gluten—this is crucial for that perfect airy crumb and crispy crust. Don’t be tempted to substitute all-purpose flour; it simply won’t provide the same texture or flavor that makes homemade bread irresistible.
Consider experimenting with different types of bread flour, like those made from whole grains or specialty blends, to find your perfect match!
Step-by-step Preparation of Dutch Oven French Bread
Making Dutch Oven French Bread at home is not just a culinary task; it’s a delightful experience that fills your kitchen with the warmth of fresh baking. This bread is perfect alongside a hearty soup or as a base for your favorite turkey bacon sandwich. Let’s dive into the step-by-step process to help you create that crusty, golden loaf with a soft, chewy interior.
Mixing the dough
To start, gather your ingredients: you’ll need flour, water, yeast, and salt. The magic begins when you mix these simple components—measuring accurately is crucial. In a large bowl, combine:
- 4 cups of all-purpose flour
- 1½ cups of warm water (about 110°F)
- 2 teaspoons of salt
- 2 tablespoons of active dry yeast
Mix these together until it forms a shaggy dough. You can use a wooden spoon or your hand; just make sure everything is well combined.
Tip: If you’re curious about different flour types and their effects on bread, check out resources from King Arthur Baking for some insights.
Kneading techniques
Now that you have your mixed dough, it’s time to knead. Turn the dough out onto a lightly floured surface and begin kneading for about 10 minutes. Use the heel of your hand to push the dough away, fold it back, and repeat. The goal is to develop the gluten, which gives the bread its structure. If your dough sticks, don’t be afraid to add a little more flour.
Pro Tip: Consider trying the “stretch and fold” technique if you prefer a less conventional approach. This gives your dough time to rest while still developing gluten.
The importance of the first rise
After kneading, place your dough in a lightly greased bowl and cover it with a damp cloth or plastic wrap. Here’s where the magic happens—a process called fermentation. Let it rise in a warm area for about 1-2 hours until it has doubled in size. This first rise is essential; it helps the dough develop flavor and texture.
Did you know? A slower rise (like overnight in the fridge) can enhance the flavor of your bread.
Shaping your loaf
Once your dough has risen, it’s time to shape it into a loaf. Gently punch it down to release the air. On a lightly floured surface, shape your dough into a round ball by tucking the edges underneath. Creating surface tension will help achieve a beautiful final crust.
Fun Fact: Shaping is just as crucial as rising, as it sets the structure for the bread.
Preparing for the second rise
Next, transfer the shaped loaf to a piece of parchment paper for its second rise. Cover it again and let it rest for about 30-60 minutes. This step is vital as it allows the dough to relax and puff up before baking.
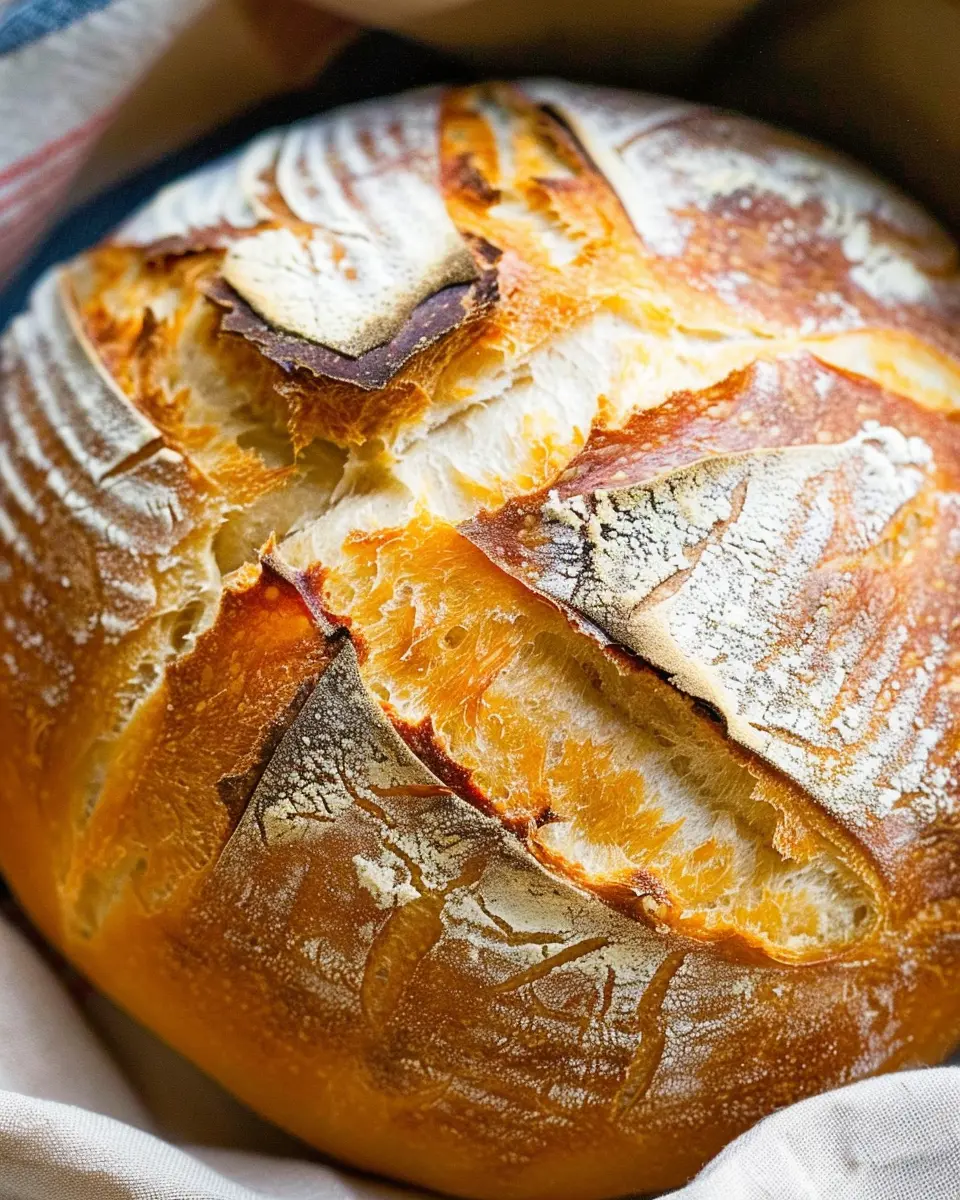
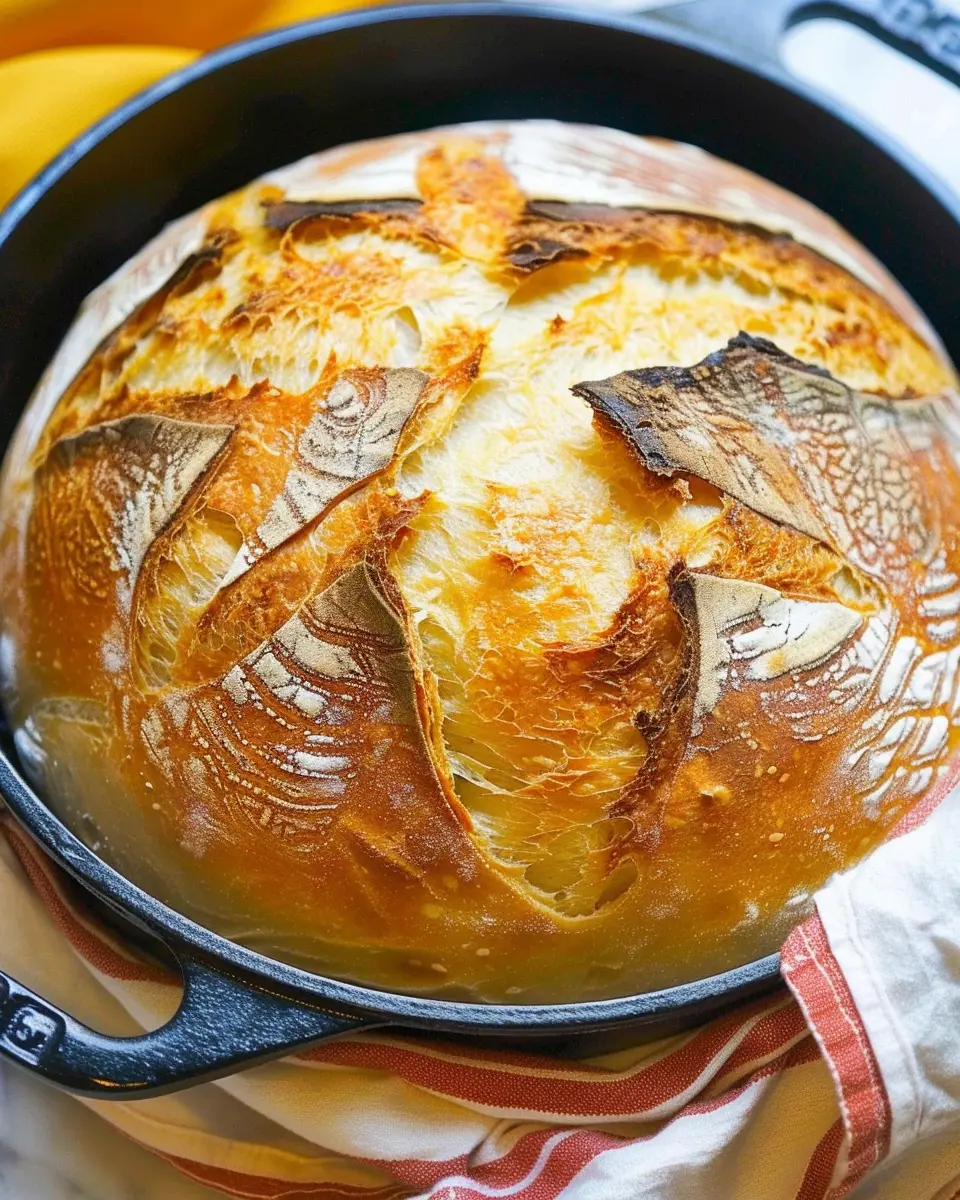
The art of slashing and flouring
Just before baking, make a few shallow slashes on the top of your loaf using a sharp knife. This isn’t just for show; it allows steam to escape during baking and creates a beautiful crust. Lightly dust the top with flour for that rustic look.
Why slash? It’s the final touch that elevates the presentation—a bread baker’s signature!
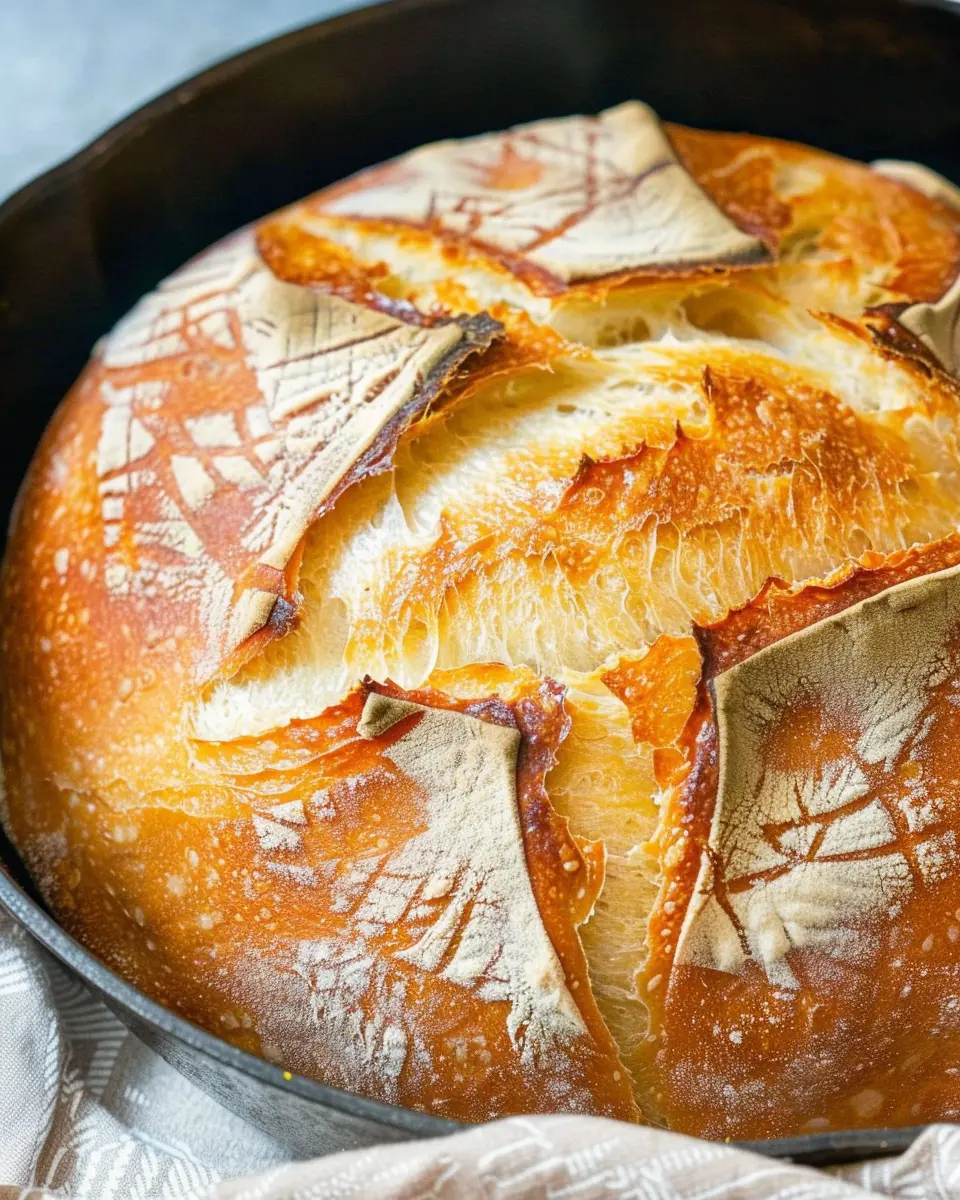
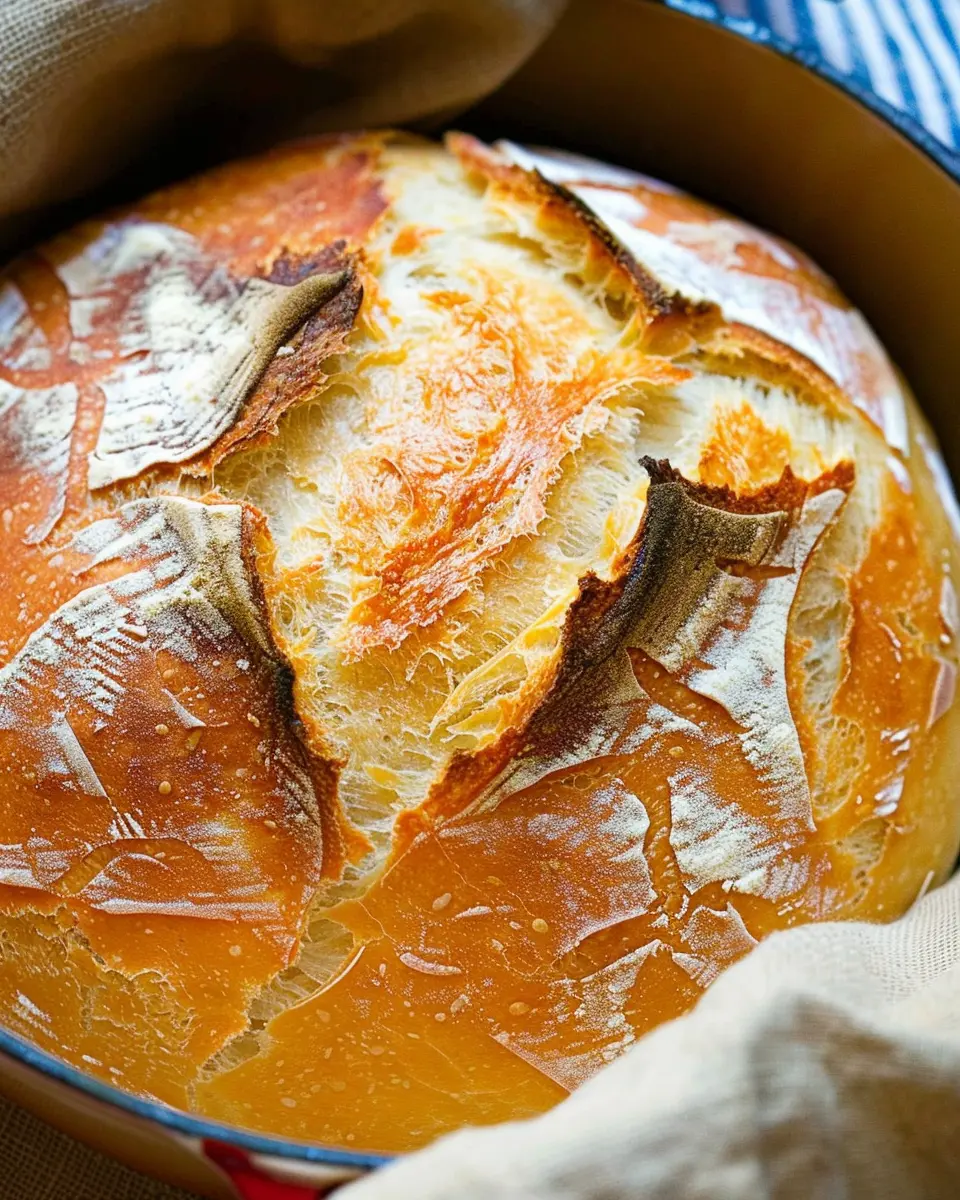
Baking magic in the Dutch oven
Now for the grand finale—baking in your Dutch oven. Preheat your oven to 450°F and place the Dutch oven inside to get nice and hot. Once it’s ready, carefully place your loaf (on the parchment paper) into the pot and cover it. Bake for 30 minutes covered, then remove the lid and bake for an additional 15-20 minutes until golden brown.
The aroma that fills your kitchen during this process will make your mouth water while you anticipate the first slice!
Enjoy the fruits of your labor
Let your Dutch Oven French Bread cool on a wire rack for at least 30 minutes before slicing. Each bite will be filled with crunchy crust and fluffy interior—perfect for your family meals or a cozy evening in.
So, what are you waiting for? Roll up your sleeves, and give this fantastic recipe a go! You’ll be surprised at how fulfilling baking your own bread can be, and your future meals are about to get a delicious upgrade.
Variations on Dutch Oven French Bread
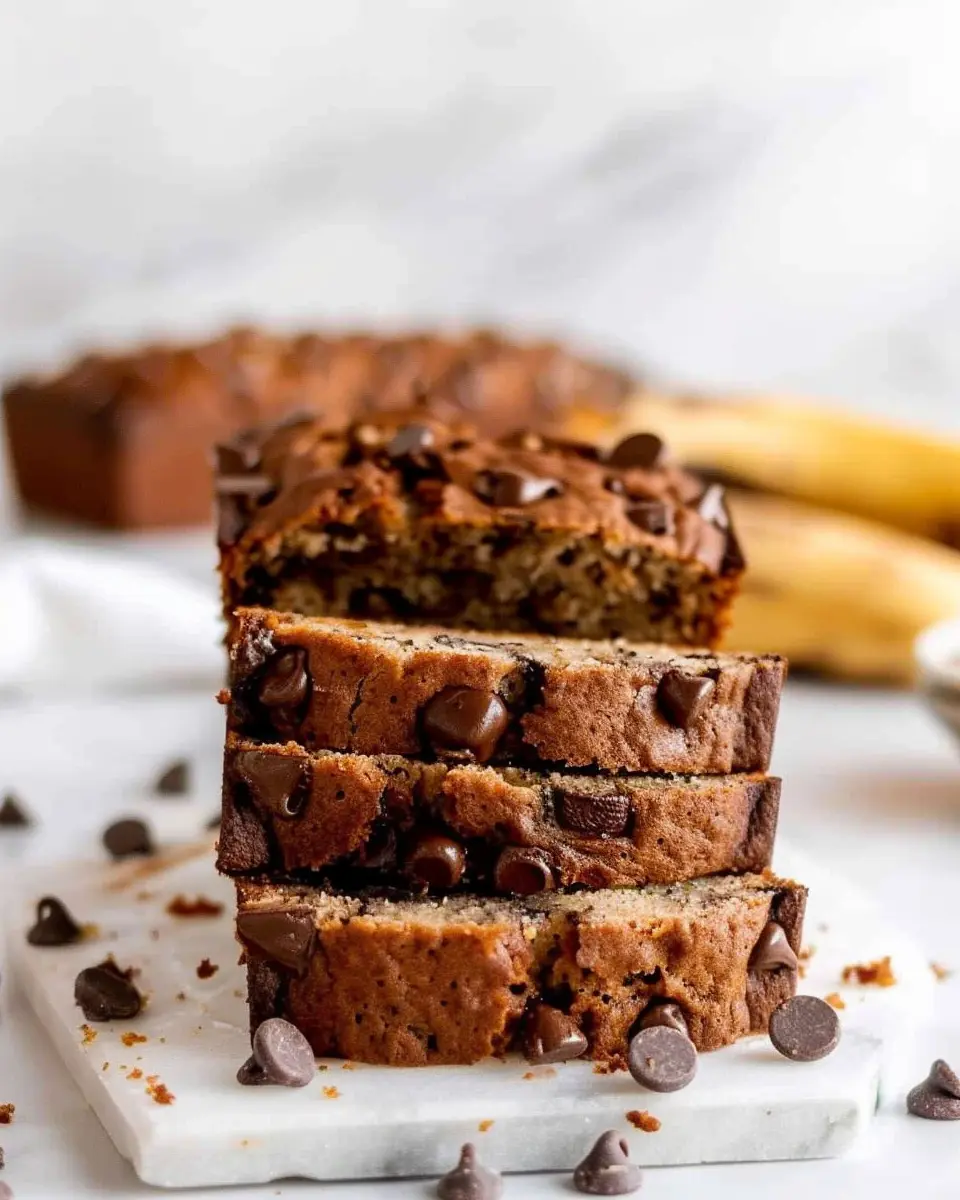
Adding Herbs for Flavor
If you’re looking to elevate your Dutch Oven French Bread, try adding fresh or dried herbs. Rosemary, thyme, or even a hint of basil can infuse your bread with delightful flavors. Simply mix a tablespoon of your favorite herb into the dough during the blending stage. The result? A fragrant loaf that adds a gourmet touch to any meal. Imagine enjoying a warm slice slathered with butter or accompanying a homemade soup!
For added depth, consider incorporating garlic or onion powder. These ingredients work beautifully with herbs and can add a savory kick. Don’t forget to adjust the salt levels in your recipe slightly if you’re including additional seasonings. Experimenting with combinations can lead to your new favorite bread recipe!
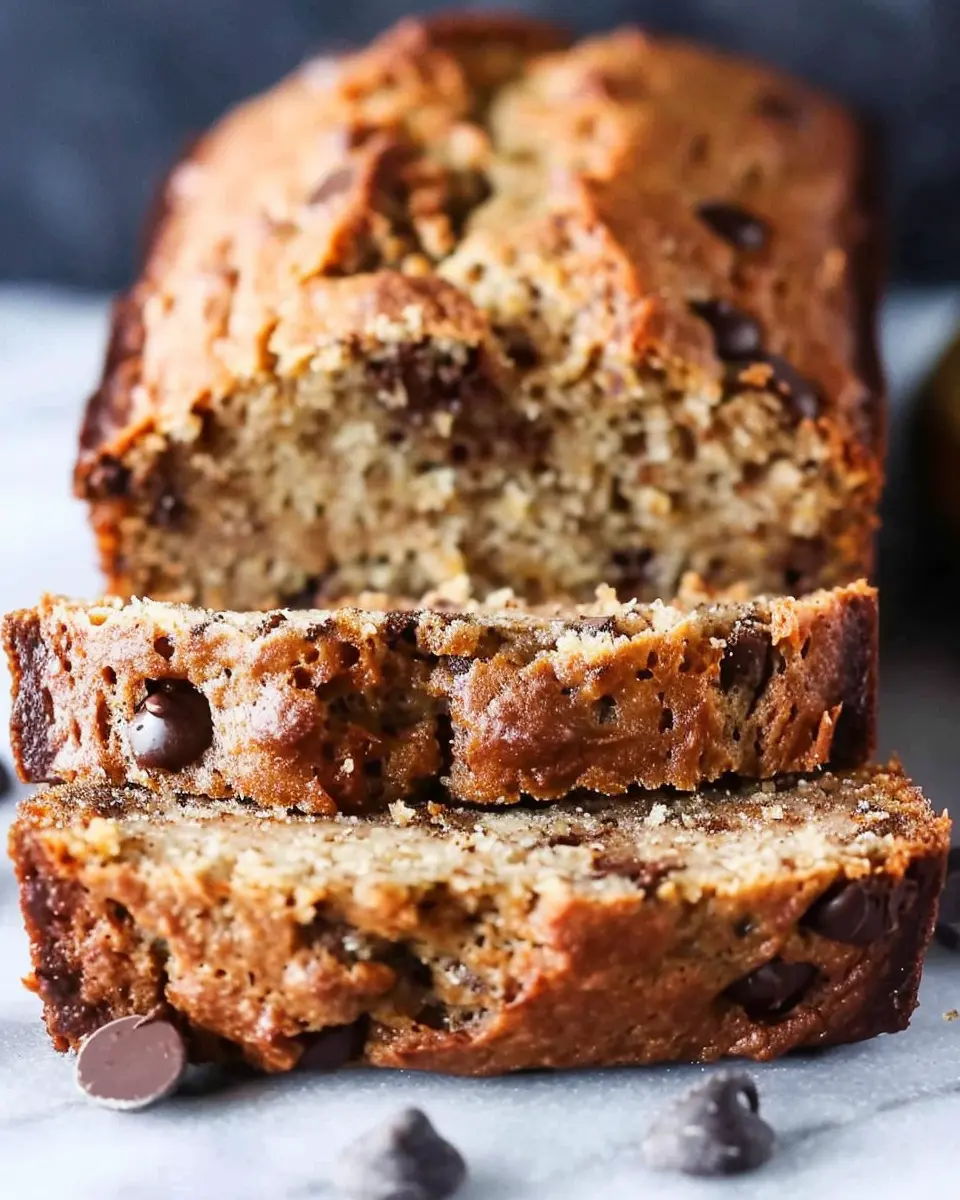
Experimenting with Whole Grains
For a heartier version of your Dutch Oven French Bread, consider incorporating whole grains. Mixing in whole wheat flour not only boosts the nutritional value but also gives your bread an inviting, nutty flavor. You can start with a 50/50 blend of all-purpose and whole wheat flour, gradually increasing the whole grain ratio as you become accustomed to the texture.
Additionally, try adding seeds like flax or sunflower seeds for extra crunch and nutrients. These can be sprinkled on top before baking or mixed directly into the dough. Not only do they contribute to the taste, but they also enhance the visual appeal of your loaf.
Don’t shy away from creativity! Whether it’s herbs or whole grains, making variations to your Dutch Oven French Bread will definitely charm your taste buds and impress your friends. If you’re curious to explore more bread recipes, check out King Arthur Baking for inspiration!
Baking Tips and Notes for Dutch Oven French Bread
Baking your own Dutch Oven French Bread can be a truly rewarding experience. To help you achieve that perfect loaf, here are some friendly tips and notes to keep in mind.
Prepare Your Ingredients
- Flour Matters: Use high-protein bread flour for the best rise and chew. Aim for around 12-14% protein.
- Temperature: Ensure your water is lukewarm, about 110°F (43°C), for ideal yeast activation.
Kneading Techniques
Kneading your dough is essential! About 8-10 minutes should suffice. Keep in mind that it should be smooth and elastic. If you’re unsure, check out this guide on kneading bread dough for some fantastic visuals.
Dutch Oven Tips
- Preheating: Always preheat your Dutch oven for at least 30 minutes prior to baking. This creates that perfect, crispy crust we all love.
- Steam Magic: A tightly sealed lid traps steam, enhancing the crust’s crispiness.
Patience is Key
Allow your dough to rise fully; don’t rush it! Waiting for that second rise really enhances the flavor.
If you’re looking for a deep dive into yeast and how it works, this expert article on bread rising is a great resource!
Happy baking, and enjoy the delicious aroma of homemade Dutch Oven French Bread!
Serving Suggestions for Dutch Oven French Bread
Pairing with Spreads
When you have a loaf of Dutch Oven French Bread, the first thing that comes to mind is how to elevate that warm, crusty goodness. A variety of spreads can transform your bread into a delightful experience. Here are some ideas to get you started:
- Herbed Butter: Blend softened butter with fresh herbs like rosemary or thyme. This adds an aromatic touch.
- Garlic Aioli: A creamy garlic aioli complements the crust perfectly. Dip or spread it on for a flavor explosion. Check out this easy aioli recipe here.
- Hummus: Whether it’s classic or flavored, hummus pairs beautifully with the texture of your fresh bread.
How to Enjoy Fresh Bread with Meals
Don’t limit your Dutch Oven French Bread to just snacking; think about incorporating it into your meals. It makes a fantastic side:
- Soups and Stews: Serve your bread alongside hearty but simple dishes, like a creamy tomato soup or a spicy beef stew.
- Salad Croutons: Cube your bread and toast it for a crunchy topping on salads.
- Sandwiches: Use slices of the bread to create a delectable sandwich with turkey bacon or chicken ham, adding fresh greens and spreads for a perfect lunch.
With these serving suggestions, you’ll discover how versatile Dutch Oven French Bread can be. Enjoy!
Time Breakdown for Dutch Oven French Bread
Creating the perfect Dutch Oven French Bread requires some planning, but the process is quite rewarding! Here’s a quick guide to help you manage your time effectively.
Preparation Time
Getting started is simple! You’ll need about 20 minutes to gather your ingredients and mix them into a dough. This initial stage sets the foundation for your beautiful loaf.
Rising Times
Patience is key here. Allow the dough to rise for 1 to 2 hours at room temperature, until it doubles in size. After shaping, let it rise again for an additional 30 to 60 minutes. This second rise is crucial for achieving that light, airy texture we all love.
Baking Time
Once ready to go, pop your Dutch Oven French Bread into the preheated oven for about 30 to 40 minutes. Keep an eye on it to achieve that golden crust, which is absolute perfection!
With this time breakdown, you’ll be on your way to enjoying homemade bread that impresses family and friends alike. For more tips on bread baking, consider checking out resources like King Arthur Baking for expert advice. Happy baking!
Nutritional Facts for Dutch Oven French Bread
When enjoying a slice of Dutch Oven French Bread, it’s essential to know what you’re consuming. Here’s a quick look at the nutritional benefits!
Calories per serving
One slice of Dutch Oven French Bread typically contains around 120-150 calories. This makes it a relatively low-calorie option, perfect for complementing soups, salads, or even sandwiches.
Key nutrients
While indulging in this delicious bread, you’re also benefiting from key nutrients:
- Carbohydrates: A primary energy source for your body.
- Protein: Essential for muscle repair and growth.
- B vitamins: Important for energy metabolism.
- Sodium: Adds flavor (just be mindful of your intake!).
For a deeper dive into bread nutrition, you might check out resources from the Whole Grains Council or the USDA FoodData Central. Enjoy your baking!
FAQs about Dutch Oven French Bread
Can I freeze the bread?
Absolutely! One of the fantastic features of Dutch Oven French Bread is its freezability. After baking, let the bread cool completely. Then, wrap it tightly in plastic wrap followed by aluminum foil to prevent freezer burn. When you’re ready to enjoy it again, simply thaw it in the refrigerator overnight. To revive its freshness, pop it in the oven for a few minutes, and it’ll be just as delicious as the day it was made.
What if my dough doesn’t rise?
If your dough isn’t rising, it can be frustrating, but don’t worry. First, check the freshness of your yeast. Expired yeast won’t do the trick. Also, the environment plays a crucial role; your kitchen should be warm and draft-free. Try placing the dough in a slightly warm oven (turned off) to encourage rising. If all else fails, you can still bake it; it might not have the airy texture, but the flavor will still be delightful.
How to store leftover bread?
To keep your Dutch Oven French Bread fresh, store it at room temperature in a bread box or wrap it in a clean kitchen towel. Avoid storing it in plastic bags, as this can make the crust soft. For longer storage, consider slicing the bread and keeping it in the freezer, as mentioned earlier. Just remember to leave the slices out on the counter for a quick thaw when hunger strikes!
If you want to dive deeper into bread storage techniques, check resources like the Bread Baking Book for expert insights. Enjoy those golden crusts!
Conclusion on Dutch Oven French Bread
Making Dutch Oven French Bread at home is an incredibly rewarding experience. Not only do you get to enjoy the delightful aroma of freshly baked bread wafting through your kitchen, but you also get to savor the crusty exterior and soft, airy interior that a dutch oven can achieve. This method is perfect for beginner bakers and seasoned pros alike, allowing for impressive, artisanal results without the need for special equipment.
When you take that first warm slice, slather on some butter, or pair it with your favorite Turkey Bacon or Chicken Ham, you’ll understand why this recipe is a must-try. For additional tips, tricks, and variations, check out resources like King Arthur Baking or Serious Eats for inspiration. Embrace the simplicity and joy of baking your own bread, and enjoy a delightful culinary adventure!
PrintDutch Oven French Bread: Easy Recipe for Homemade Loaves
Learn how to make Dutch oven French bread effortlessly with this easy recipe for delicious homemade loaves.
- Prep Time: 10 minutes
- Cook Time: 45 minutes
- Total Time: 12 hours 55 minutes
- Yield: 1 large loaf 1x
- Category: Bread
- Method: Baking
- Cuisine: French
Ingredients
- 4 cups all-purpose flour
- 1 tablespoon sugar
- 2 teaspoons salt
- 1 teaspoon active dry yeast
- 1.5 cups warm water
Instructions
- In a large bowl, mix together the flour, sugar, salt, and yeast.
- Add the warm water and stir until combined. Cover the bowl with plastic wrap and let it sit for 12 to 18 hours at room temperature.
- Preheat your oven to 450°F (232°C) and place your Dutch oven inside to heat up.
- Dust a work surface with flour and turn the dough out onto it. Shape it into a round loaf and let it rest for 30 minutes.
- Carefully remove the Dutch oven from the oven, and place the dough inside. Cover with the lid and bake for 30 minutes.
- Remove the lid and bake for another 15 to 20 minutes until the bread is golden and crusty.
Notes
- For a softer crust, you can cover the bread with a towel after baking.
- Experiment with different types of flour for unique flavors.
Nutrition
- Serving Size: 1 slice
- Calories: 120
- Sugar: 0.5g
- Sodium: 360mg
- Fat: 1g
- Saturated Fat: 0g
- Unsaturated Fat: 0g
- Trans Fat: 0g
- Carbohydrates: 24g
- Fiber: 1g
- Protein: 4g
- Cholesterol: 0mg
Keywords: Dutch Oven French Bread