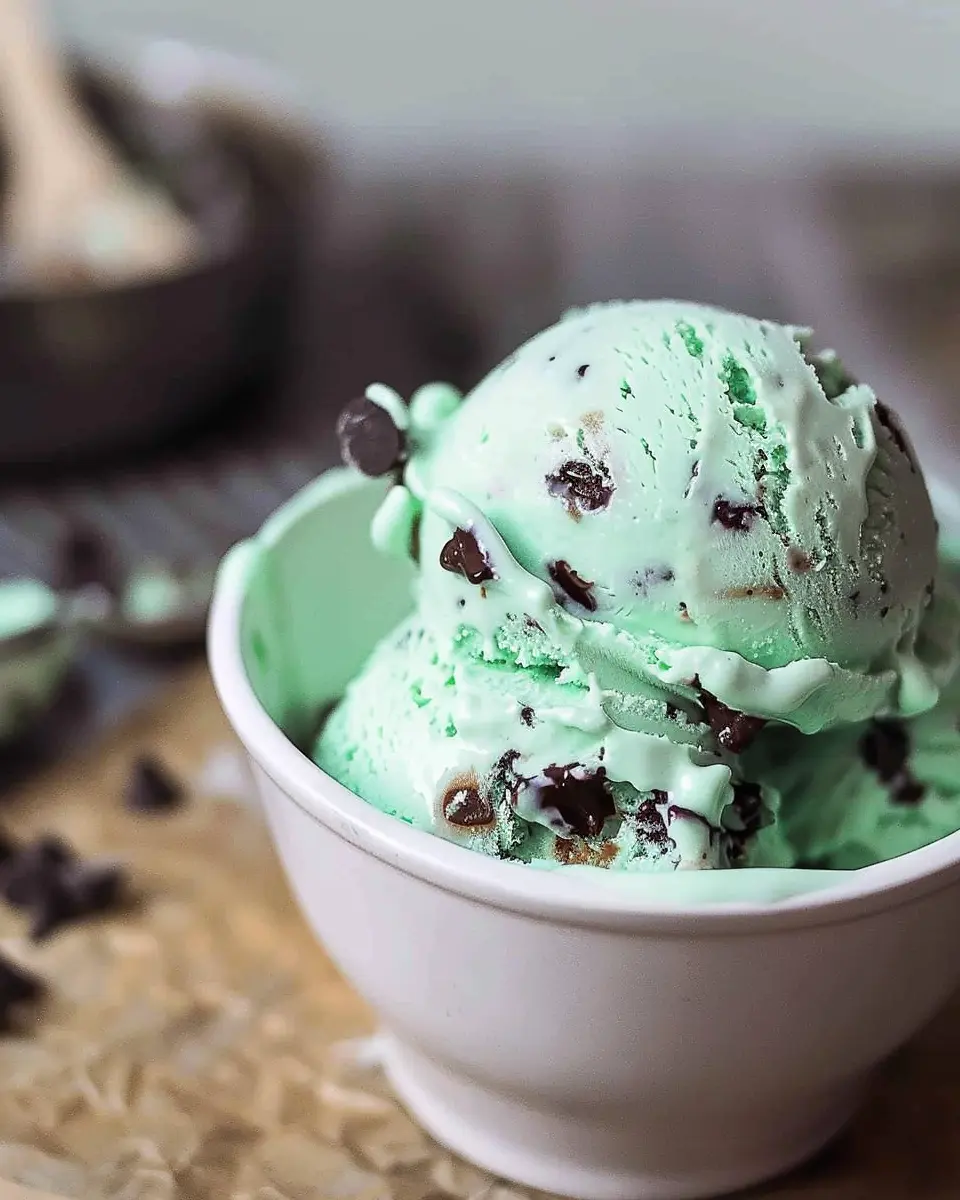
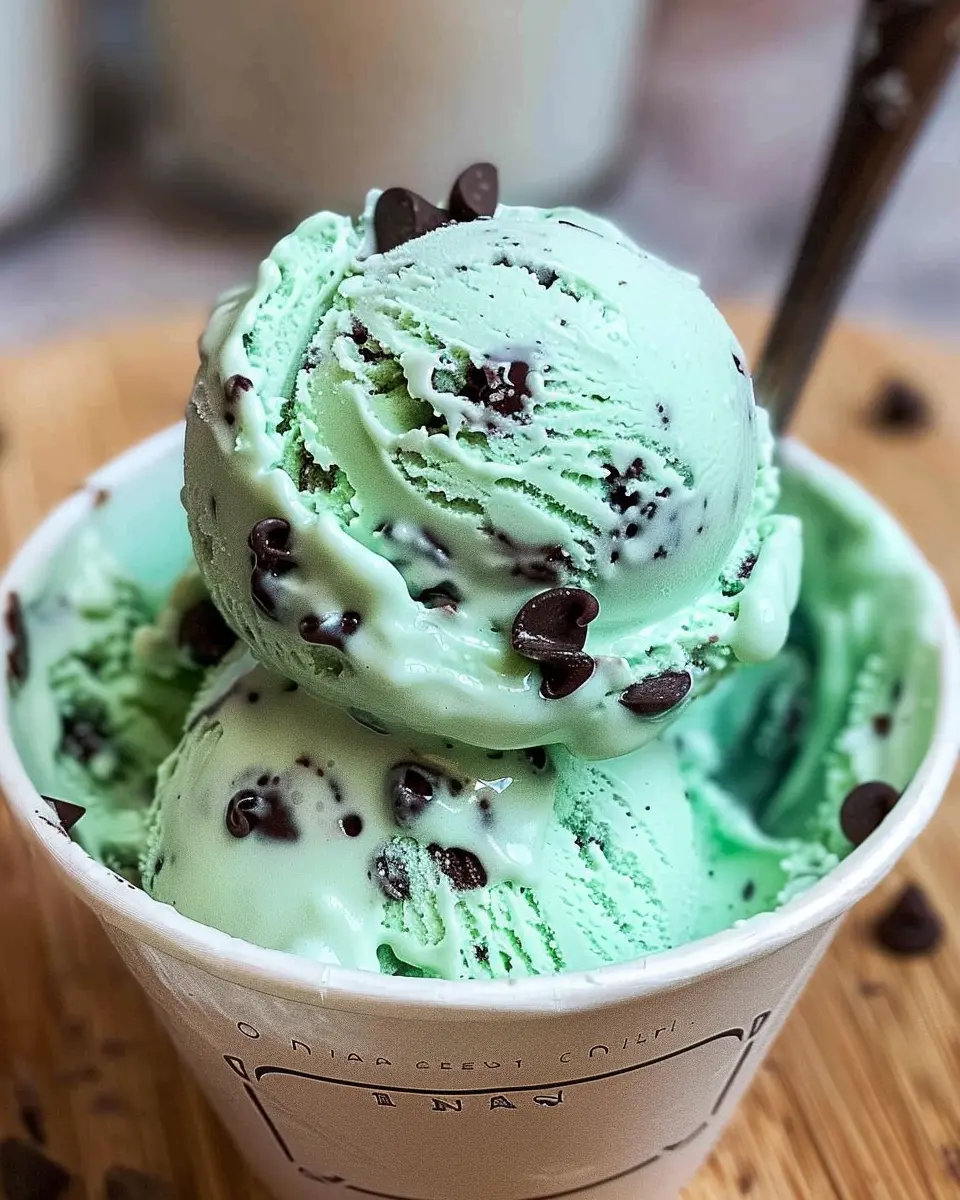
Introduction to Ninja Creami Mint Chocolate Chip Ice Cream
Why homemade ice cream is a game changer
Have you ever tasted a scoop of ice cream that felt like a hug in a bowl? When you whip up your own homemade ice cream, you’re not just creating a dessert; you’re crafting a memorable experience. With an appliance like the Ninja Creami at your fingertips, the process becomes incredibly simple and fun. You can fit it into your busy schedule without any fuss, and you have complete control over the ingredients. Say goodbye to store-bought options filled with preservatives; instead, embrace the freshness and rich flavors of your own creations.
Not convinced? Here’s a captivating statistic: According to a study published by the International Dairy Foods Association, the homemade ice cream market has been steadily growing, showing that more people are opting to take the reins of ice cream-making. So why not jump on this cool trend and treat yourself to something special? When you make your own Ninja Creami mint chocolate chip ice cream, you not only enjoy a delicious treat but also an incredible sense of accomplishment.
The nostalgia of mint chocolate chip ice cream
Let’s take a stroll down memory lane for a moment. Remember the thrill of visiting an ice cream shop in the summer, scanning the colorful array of flavors? Mint chocolate chip often stood out, draping itself in its refreshing green hue, just waiting to be devoured. It’s not just a flavor; it’s a nostalgic trip filled with laughter, summer days, and carefree moments with family or friends.
For many of us, the mint chocolate chip ice cream experience goes beyond just taste; it evokes those cherished memories. The cooling sensation of mint combined with the rich chocolate chips is a heavenly duet that dances on your palate. Embracing this classic flavor not only satisfies your taste buds but also rekindles those lovely moments from the past.
So, whether you’re seeking comfort, a fun activity for your weekend, or simply the joy of creating something delicious, diving into a bowl of Ninja Creami mint chocolate chip ice cream is sure to put a smile on your face. Are you ready to revisit that nostalgic moment and create something uniquely yours? Let’s get started!
Ingredients for Ninja Creami Mint Chocolate Chip Ice Cream
Detailed Ingredient Breakdown
Making the perfect Ninja Creami mint chocolate chip ice cream starts with a few key ingredients that blend beautifully together to create a luscious texture and delightful flavor. Here’s what you’ll need:
- Fresh mint leaves: Using real mint instead of extract elevates the flavor profile, giving a fresh, aromatic taste.
- Heavy cream: The foundation of creaminess, it adds richness to our ice cream. Aim for the highest fat content you can find.
- Sweetened condensed milk: This ingredient provides sweetness and creaminess in one, making your ice cream irresistibly smooth.
- Semi-sweet chocolate chips: These chunky bits are the chocolatey surprise in every scoop—feel free to choose dark or dairy-free options!
- Vanilla extract: Just a splash enhances flavor and balances the mintiness.
Importance of Using Quality Ingredients
When crafting your own Ninja Creami mint chocolate chip ice cream, quality matters. The better the ingredients, the better the overall taste. For instance, using fresh mint from a local market can make a world of difference in flavor compared to imitation extracts.
Investing in high-quality chocolate chips or organic cream not only enhances the flavor but also aligns with healthy living principles. According to the American Culinary Federation (ACF), top-tier ingredients lead to consistent and exquisite results in your culinary adventures.
Remember, you’re treating yourself, so why not make it a treat to remember? Enjoy the process and the delicious rewards that follow!
Step-by-step preparation of Ninja Creami Mint Chocolate Chip Ice Cream
Making homemade ice cream is one of life’s simple pleasures. With the help of your Ninja Creami, you can easily craft delicious mint chocolate chip ice cream that will impress your friends and satisfy your cravings. Let’s dive into the smooth and creamy world of this delightful treat!
Create the ice cream base
The first step in preparing your Ninja Creami mint chocolate chip ice cream is to whip up a creamy base that serves as the foundation for all those rich flavors. Here’s what you will need:
- 2 cups whole milk
- 1 cup heavy cream
- 3/4 cup granulated sugar
- 2 teaspoons pure peppermint extract
- 1 teaspoon vanilla extract
- A pinch of salt
In a mixing bowl, combine the whole milk, heavy cream, granulated sugar, peppermint extract, vanilla extract, and salt. Use a whisk to blend everything together until the sugar is dissolved and the mixture is smooth and well-combined. This is a great moment to ask yourself: Have I added enough mint? You can always tweak the flavor based on your taste preferences!
For more on the importance of the right flavor balance in ice cream, check out this ice cream flavor balancing guide.
Freezing the mixture
Now that your base is ready, it’s time for the big chill. Pour the mixture into a suitable container, and cover it tightly with a lid or plastic wrap. Place it in the freezer for about 5 to 8 hours, or until it is solid. If you’re planning to make this treat for a gathering, you might want to prepare it the night before. This way, you can have perfectly frozen ice cream waiting for you when your guests arrive.
Churning with the Ninja Creami
Once your mixture has solidified, it’s time to put it into your Ninja Creami. Take the ice cream base out of the freezer and let it sit for a few minutes at room temperature to soften slightly—this will make the churning process smoother.
Place the frozen block into the Ninja Creami and securely lock the lid. Select the “Ice Cream” function and let the machine do its magic. In just a few minutes, you’ll have beautifully churned ice cream that’s ready to be transformed further.
If you want some tips on using your Ninja Creami more effectively, you may find this Ninja Creami user manual helpful.
Adjusting texture if necessary
Sometimes, the consistency might need a little tweaking. After the initial churn, check the texture of your mint chocolate chip ice cream. If it feels a bit too firm, you can add a splash of milk and churn again until you achieve that perfect creamy consistency that you are after. Remember, the goal is to have an ice cream that’s smooth and easy to scoop—no one wants a rock-hard dessert!
Adding chocolate chips
Your Ninja Creami mint chocolate chip ice cream is almost there! In this final step, you’ll need to incorporate those delightful chocolate chips. Grab about 1/2 cup of semi-sweet or dark chocolate chips and sprinkle them into the perfectly churned ice cream. Using the “Mix-in” function on your Ninja Creami, blend the chocolate chips throughout, ensuring they’re evenly distributed without losing that light, airy texture you just created.
For a fun twist, you might also consider adding crushed mint oreos or swirling in some chocolate sauce. The creative possibilities are endless!
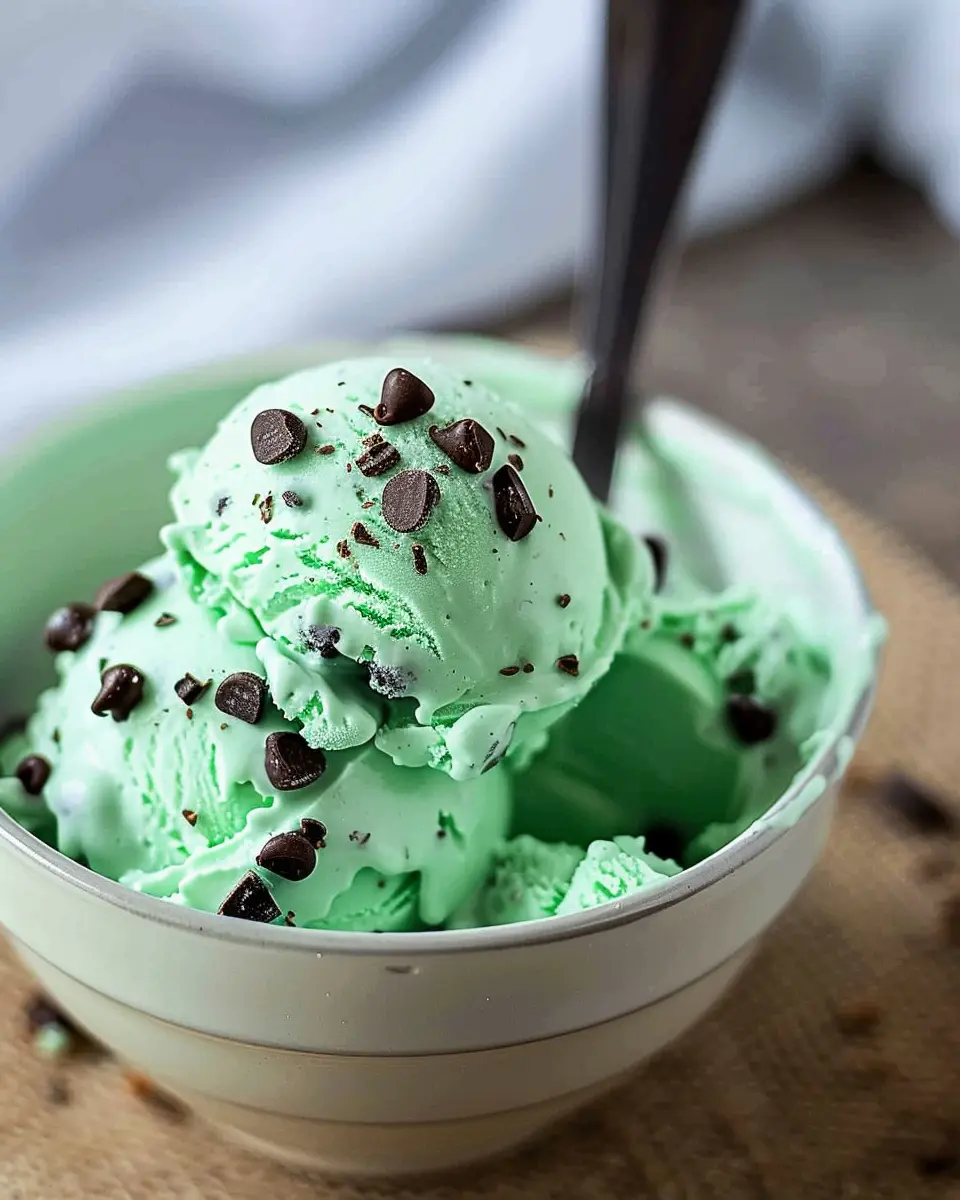
And there you have it! Scoop your Ninja Creami mint chocolate chip ice cream into bowls or cones, serve immediately, or store in an airtight container in the freezer for those late-night cravings. Enjoy your homemade creation—you’ve earned it!
Variations on Ninja Creami Mint Chocolate Chip Ice Cream
Dairy-free options for mint chocolate chip ice cream
Want to whip up a Ninja Creami mint chocolate chip ice cream that caters to your dairy-free friends? It’s easier than you might think! Try using coconut milk or almond milk as your base. Both options add a subtle flavor while providing that creamy texture we love. You can also opt for cashew cream for a denser consistency. Sweeten the deal with a splash of agave syrup or maple syrup, and don’t forget to fold in some dairy-free chocolate chips for that delightful crunch. If you’re curious about nutrition, healthline.com offers great information on the benefits of dairy alternatives.
Alternative mix-ins to elevate the flavor
Ready to take your Ninja Creami mint chocolate chip ice cream to the next level? Consider mixing in a few unexpected ingredients.
- Crushed Oreos: For a cookie-and-cream twist, add some crushed Oreos during the mix-in stage.
- Pistachios: Chopped pistachios not only provide a nice crunch but also complement the mint beautifully.
- Chocolate Swirls: Drizzle in melted dark chocolate for gourmet flair.
- Fresh Mint Leaves: For an extra burst of mint flavor, chop fresh mint leaves and fold them in.
- Nut Butters: A few spoonfuls of cashew or almond butter can add a nutty richness that contrasts beautifully with the mint.
Remember, the key is to have fun and experiment with what you love! With these variations, your ice cream will be the talk of the town, making every scoop a unique experience.
Cooking Tips and Notes for Ninja Creami Mint Chocolate Chip Ice Cream
Common Pitfalls and How to Avoid Them
When making Ninja Creami Mint Chocolate Chip Ice Cream, one common mistake is not using enough liquid. Ice cream bases should be creamy but pourable; if it’s too thick, it may not blend well, leading to an icy texture. Always ensure your base ingredients are adequately softened before blending.
Another pitfall is neglecting the chilling period. After blending your mixture, chill it for at least 4 hours, preferably overnight. This helps improve the flavors and texture—after all, nobody likes icy chunks in their ice cream!
Storing Homemade Ice Cream Correctly
To keep your Ninja Creami Mint Chocolate Chip Ice Cream fresh and delicious, store it in an airtight container. This prevents freezer burn and helps maintain its creamy consistency. A handy tip is to press a piece of parchment paper directly on the surface of the ice cream before sealing it — this extra layer acts as a barrier against air.
For optimal texture, consume your ice cream within a week or two. Homemade ice cream can lose its creamy goodness over time, so enjoy it while it’s fresh! If you’re interested in more tips on storing ice cream or the science behind it, check out sources like the Ice Cream Makers Association.
Incorporating these tips will help you master your Ninja Creami Mint Chocolate Chip Ice Cream, making each scoop a joyful treat!
Serving suggestions for Ninja Creami Mint Chocolate Chip Ice Cream
Creative serving ideas for a delightful presentation
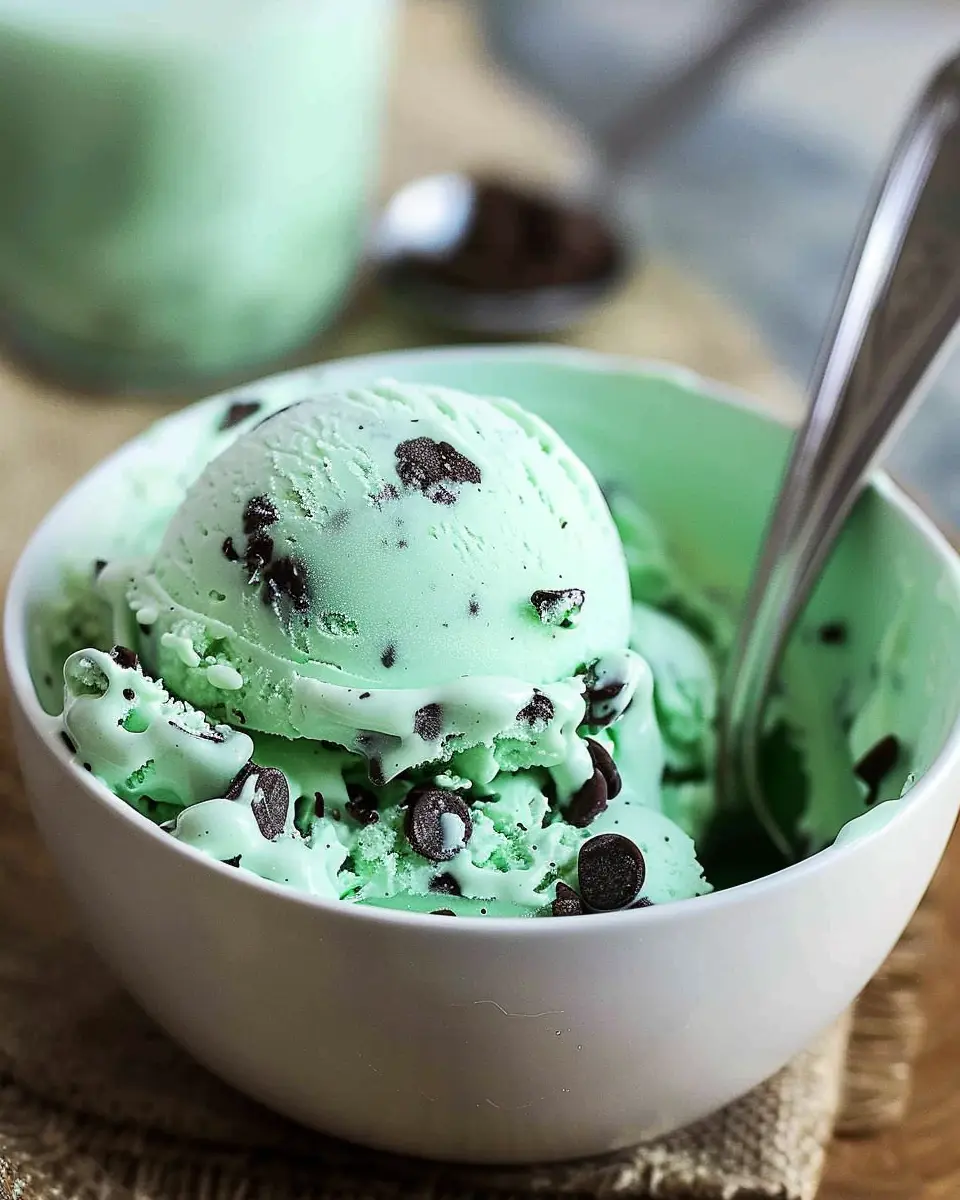
When you whip up a batch of Ninja Creami Mint Chocolate Chip Ice Cream, consider elevating your presentation. Start by serving the ice cream in decorative bowls or waffle cones to add a special touch. For a fun twist, create an ice cream float with a splash of fizzy club soda or homemade mint-infused lemonade. Top it with sprigs of fresh mint and a drizzle of chocolate syrup, providing both a visual treat and an explosion of flavor.
Pairing your ice cream with other homemade treats
To amp up your dessert game, why not pair your Ninja Creami Mint Chocolate Chip Ice Cream with some homemade cookies? Soft-baked chocolate chip cookies or crispy mint cookies make for delectable companions. Or, try layering the ice cream between slices of sponge cake for a refreshing ice cream sandwich. If you’re feeling adventurous, you could even serve it alongside a warm slice of rich brownie or a scoop of mixed berry sorbet for a delightful flavor contrast.
For tips on creating the perfect cookies, check out this helpful guide that explores different textures and tastes. The ideal pairing can make your dessert an unforgettable experience!
Time breakdown for Ninja Creami Mint Chocolate Chip Ice Cream
Making your very own Ninja Creami mint chocolate chip ice cream is a delightful process! Here’s a quick look at how your time will break down.
Preparation time
First things first, you’ll spend about 15 minutes preparing the ingredients. This includes mixing your cream, sugar, and of course, those refreshing minty flavors. Don’t forget to chop your chocolate chips to evenly distribute that chocolaty goodness.
Freezing time
Once your mix is ready, pour it into the Ninja Creami container and pop it in the freezer. You’ll want to freeze the mixture for at least 24 hours. It’s the crucial step that allows that creamy texture to develop. Patience is key here!
Churning time
Finally, when you’re ready to indulge, churning only takes about 5 minutes in your Ninja Creami. Watch as the ice cream transforms from a solid block into a creamy, luscious treat.
This time-efficient process not only creates a delicious dessert but is also a fun way to get creative in the kitchen. Check out more about the science of ice cream making here. Enjoy your ice cream-making adventure!
Nutritional facts for Ninja Creami Mint Chocolate Chip Ice Cream
Calories per serving
When you treat yourself to a scoop (or two) of Ninja Creami Mint Chocolate Chip Ice Cream, know that each generous serving packs about 200 calories. This makes it a delicious indulgence that won’t derail your healthy eating habits—unless you can’t resist a second helping!
Sugar content
Sugar can be a sneaky culprit in ice cream. In this refreshing minty delight, you’ll find roughly 18 grams of sugar per serving. This is largely due to the chocolate chips and sweeteners used, so be mindful if you’re watching your sugar intake.
Healthier alternatives
Looking for ways to make your Ninja Creami Mint Chocolate Chip Ice Cream a bit healthier? Try these simple swaps:
- Substitute regular chocolate chips with dark chocolate for added antioxidants.
- Use a zero-calorie sweetener to cut down on sugar while keeping that sweet flavor intact.
- Incorporate Greek yogurt instead of heavy cream for a protein boost and creaminess.
With these adjustments, you can enjoy this classic treat guilt-free! For more ideas on healthy ingredients, check out sites like Healthline for inspiration and tips.
FAQs about Ninja Creami Mint Chocolate Chip Ice Cream
Can I make this ice cream without a Ninja Creami?
Absolutely! While the Ninja Creami Mint Chocolate Chip Ice Cream maker simplifies the process, you can still create delightful ice cream using your standard blender or ice cream maker. Simply blend your ingredients until smooth, pour the mixture into a freezer-safe container, and allow it to freeze for several hours. For best results, stir every half hour for the first few hours to prevent ice crystals from forming.
How to fix ice cream that is too hard or too soft?
Finding the perfect texture can sometimes be tricky. If your Ninja Creami Mint Chocolate Chip Ice Cream turns out too hard, try letting it sit at room temperature for 5-10 minutes before scooping. This allows it to soften just enough for a creamy consistency. Conversely, if it’s too soft, place it back into the freezer to firm up. When using alternative ingredients or increasing your mix-ins, the texture may vary, so adjustments may be needed.
Can I use different flavors instead of mint?
Definitely! The beauty of homemade ice cream lies in your ability to customize flavors. If mint isn’t your thing, consider using alternatives like vanilla, chocolate, or coffee. You could even blend in fruit purees or matcha for unique twists. Just keep in mind that the Ninja Creami Mint Chocolate Chip Ice Cream concept is based on mint’s refreshing taste, so be bold and experiment!
For more tips on ice cream variations and recipes, check out sources like The Kitchn or Serious Eats for inspiration!
Conclusion on Ninja Creami Mint Chocolate Chip Ice Cream
Embrace the joy of homemade ice cream
There’s something wonderfully rewarding about creating your own Ninja Creami Mint Chocolate Chip Ice Cream. Not only can you customize the flavors and ingredients, but making it at home allows you to share delightful memories with friends and family. Imagine a warm summer evening, friends gathered around, enjoying rich, creamy scoops of this classic treat.
Plus, with the ease of the Ninja Creami, you can whip up a batch in no time. Homemade ice cream has fewer additives and preservatives than store-bought versions, making it a healthier choice. So why not dive into this refreshing dessert adventure? Check out this article for more tips on enhancing your ice cream-making skills. Enjoy each swoop of mint chocolate goodness with every spoonful!
PrintNinja Creami Mint Chocolate Chip Ice Cream: The Best Homemade Indulgence

Indulge in the creamy, refreshing taste of homemade mint chocolate chip ice cream, made effortlessly with the Ninja Creami. It’s a delightful treat that will satisfy your sweet cravings.
- Prep Time: 15 minutes
- Total Time: 24 hours 15 minutes
- Yield: 5 servings 1x
- Category: Dessert
- Method: Ice Cream Maker
- Cuisine: American
- Diet: Vegetarian
Ingredients
- 2 cups heavy cream
- 1 cup whole milk
- 1 cup granulated sugar
- 1 tablespoon pure peppermint extract
- 1 cup mini chocolate chips
- green food coloring (optional)
Instructions
- In a large mixing bowl, combine heavy cream, whole milk, granulated sugar, and peppermint extract. Whisk until the sugar is dissolved.
- If desired, add green food coloring to achieve your preferred shade of mint green.
- Stir in the mini chocolate chips.
- Pour the mixture into the Ninja Creami container and freeze for 24 hours.
- Once frozen, process the mixture in the Ninja Creami according to the manufacturer’s instructions.
- Serve immediately or store in the freezer for later.
Notes
- Experiment with different mix-ins or toppings for variety.
- For a stronger mint flavor, increase the amount of peppermint extract.
Nutrition
- Serving Size: 1/2 cup
- Calories: 350
- Sugar: 25g
- Sodium: 55mg
- Fat: 24g
- Saturated Fat: 14g
- Unsaturated Fat: 10g
- Trans Fat: 0g
- Carbohydrates: 31g
- Fiber: 0g
- Protein: 4g
- Cholesterol: 80mg
Keywords: Ninja Creami, Mint Chocolate Chip Ice Cream, homemade ice cream