Introduction to Ninja Creami Recipes
Discovering the Ninja Creami: A Game-Changer for Homemade Ice Cream
Have you ever dreamed of creating your favorite frozen treats at home but found the process daunting? Enter the Ninja Creami, a revolutionary kitchen gadget that simplifies making ice cream, sorbets, and even smoothie bowls. This innovative device has taken the world of homemade desserts by storm, transforming how we enjoy sweet, icy delights.
With the Ninja Creami, the possibilities are endless. Whether you’re in the mood for a classic vanilla ice cream or a more exotic flavor like lavender honey, this machine is your best friend. It offers a unique feature—creating ice cream from any base you choose, like bananas, coconut milk, or even yogurt, making Ninja Creami recipes incredibly versatile. Readers can find inspiring recipes and guides on platforms like Ninja Kitchen or even Pinterest for visual inspiration.
One of the standout features of the Ninja Creami is its ability to achieve creamy, smooth textures without the hassle of traditional ice cream methods. Forget about churning, waiting hours, or worrying about rock-hard ice cream! With just a few steps, you can whip up a batch and freeze it until you’re ready to indulge.
Why You Should Try Ninja Creami Recipes
You might wonder, “Why should I invest in a Ninja Creami?” Well, think about the joy of crafting personalized desserts just the way you like them. For instance, blending different fruits, adding in your favorite mix-ins, or adjusting the sweetness level.
- Healthier Options: Use fresh ingredients and adjust sugar levels to your taste.
- Creative Freedom: Make dairy-free, vegan, or even low-carb options.
- Fun with Friends: Host an ice cream party where everyone can create their unique concoctions!
Incorporating Ninja Creami recipes into your weekly rotation can make dessert time feel like an adventure. Have you tried making a refreshing strawberry sorbet on a hot summer day? Or how about a decadent chocolate hazelnut ice cream that’s guilt-free? These experiences can be delightful and rewarding!
Ready to dive into this new culinary journey? Let’s explore a range of Ninja Creami recipes that are sure to impress your taste buds and elevate your dessert game!
Ingredients for Ninja Creami Recipes
Creating delightful Ninja Creami recipes starts with the right ingredients! Here’s a rundown of what you’ll need.
Essential Ingredients for a Basic Ice Cream Base
To whip up a fantastic ice cream base, you’ll want to include:
- Heavy cream: This is the backbone of a creamy texture. Aim for at least 2 cups.
- Whole milk: Add in 1 cup for a smoother consistency.
- Sugar: About ¾ cup will sweeten your concoction; you can adjust this based on your taste.
- Vanilla extract: A splash (1-2 teaspoons) elevates the flavor beautifully.
These are the essentials, but don’t be afraid to experiment! For a richer flavor, consider adding Greek yogurt or even coconut milk.
Optional Mix-Ins and Toppings to Elevate Your Ice Cream
Want to enhance your Ninja Creami recipes? Here are some fun and tasty options:
- Fresh fruits: Berries, bananas, and mangoes add a natural sweetness.
- Nut butters: Swirls of peanut or almond butter can bring richness.
- Chocolate chips: These are a classic addition for a little crunch.
- Turkey bacon bits or Chicken ham: For a unique twist, try savory elements to surprise your taste buds!
Feel free to explore your creativity! Combining flavors can lead to amazing results, and if you need inspiration, check out this guide on ice cream flavor combinations.
Preparing Ninja Creami Recipes
If you’ve recently joined the ranks of Ninja Creami enthusiasts, you know that making frozen treats at home can be an exciting adventure. Whether you’re looking to whip up a creamy gelato or a fruity sorbet, preparing Ninja Creami recipes is straightforward and enjoyable. Let’s break down the steps to ensure your homemade delights turn out perfectly every time.
Gather Your Ingredients
Before diving into the delicious world of Ninja Creami recipes, it’s essential to gather all your ingredients. Depending on what you want to make, this could range from heavy cream and milk to your favorite fruits. Here are some common ingredients that you might need:
- Heavy cream or full-fat coconut milk
- Granulated sugar or a preferred sweetener
- Flavoring agents (think vanilla extract or fresh herbs)
- Add-ins (like chocolate chips, berries, or crushed cookies)
Having everything ready will not only streamline your process but will also keep the creative juices flowing. Did you know that using fresh, high-quality ingredients can significantly enhance flavor? It’s true! Try sourcing local produce or premium dairy for an extra boost.
Blend the Ice Cream Base
Once you have your ingredients ready, the next step is to blend your ice cream base. This is where you can get creative! Combine your cream, sweetener, and flavors in a blender. Here’s a basic guideline to follow:
- Mix the Ingredients: Start with 2 cups of heavy cream, 1 cup of milk, and about ¾ cup of sweetener, adjusting to taste.
- Incorporate Flavors: Add in essentials, such as a tablespoon of vanilla extract or a ripe banana for a fruity option.
- Blend Until Smooth: Blend everything until well combined, ensuring there are no lumps.
Feeling adventurous? You could substitute some ingredients for unique flavor profiles—try using coconut milk for a non-dairy option or adding spices like cinnamon for warmth. For more on creating the perfect base, check out The Kitchn for tips on ice cream making.
Freeze the Mixture
After blending, it’s time for the mixture to chill out—literally! Pour your creamy blend into the Ninja Creami pint and freeze it for at least 24 hours. This freezing time is crucial because it ensures your mixture is solid enough for the spinning process later on.
While you’re waiting, this can be a great opportunity to plan your next creations or experiment with different flavors. You may also explore options like making a fruit puree while you wait.
Prep Your Ninja Creami
Now comes the fun part—prepping your Ninja Creami! Make sure your machine is clean and ready to go. Check that you have the correct paddle attachment and that it’s properly secured. If you’re ready to dive in, here’s a quick checklist:
- Ensure the bowl is frozen (it should feel extremely cold to the touch)
- Attach the paddle securely in place
- Plug it in and choose your desired settings early on, if your model allows for it
Your patience will pay off after that 24-hour freeze; the machine is truly the star of the show!
Spin for Perfection
With everything in place, it’s finally time to spin your mixture into delectable goodness! Place the frozen pint into the Ninja Creami machine and select your desired setting.
- Spin Once: For a soft-serve texture, you might want to spin it once.
- Spin Twice: If you prefer a denser ice cream, spinning it twice will yield a creamier result.
Keep in mind that you can customize your treat by adding mix-ins halfway through the spinning process. Think chocolate chunks, fruits, or nuts to give added texture and flavor.
In a matter of minutes, you’ll have a delicious homemade frozen dessert ready to be enjoyed!
So there you have it—your roadmap to preparing Ninja Creami recipes. With these steps in hand, you’re equipped for an incredible journey into the world of homemade frozen treats. Enjoy experimenting, and may your flavors be as bold as your creativity!
Variations on Ninja Creami Recipes
Get ready to elevate your ice cream game with some creative variations on Ninja Creami recipes. With just a little imagination, you can transform simple ingredients into delicious frozen treats that everyone will love.
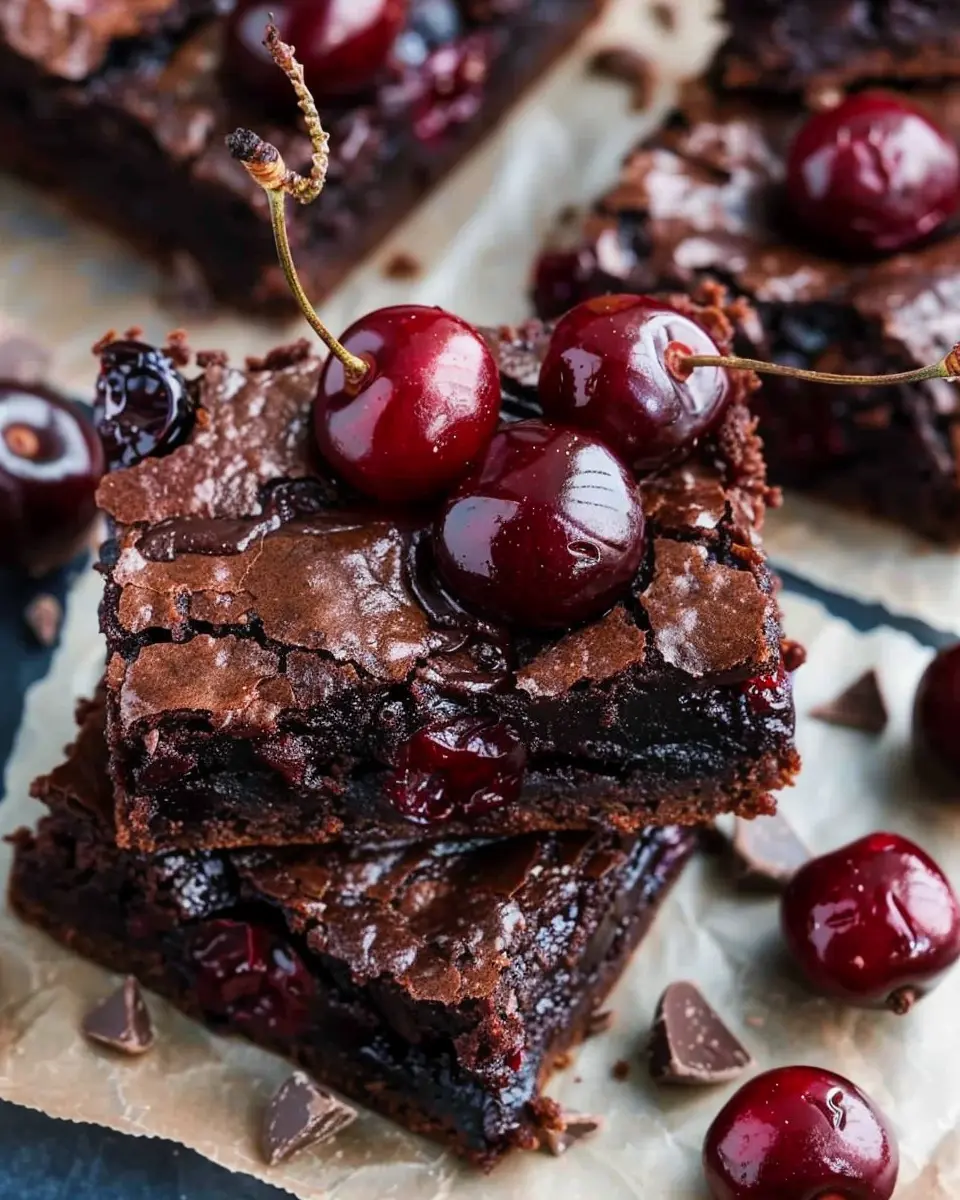
Chocolate Delight Ice Cream
Who doesn’t love chocolate? For a rich and creamy chocolate ice cream, start with a base of heavy cream and condensed milk. Here’s a simple blend:
- 2 cups of heavy cream
- 1 cup of sweetened condensed milk
- 1/2 cup of cocoa powder
- A pinch of sea salt for that extra flavor boost
Mix these ingredients until smooth. Freeze your mixture in the Ninja Creami container overnight. When you’re ready, process it in your Ninja Creami to create a velvety texture that’s perfect for satisfying any chocolate craving. Looking for something a little extra? Mix in chocolate chips or a swirl of fudge right before serving for a delightful surprise!
Fruity Frozen Yogurt
Are you searching for a lighter, healthier option? This fruity frozen yogurt is a fantastic choice. Try blending:
- 2 cups of Greek yogurt (plain or flavored)
- 1 cup of your favorite frozen fruits (like strawberries, mangoes, or blueberries)
- 1/4 cup of honey or agave syrup to sweeten
This delightful mix not only feels refreshing but packs a nutritious punch. Freeze the mixture overnight, and use your Ninja Creami to create a fluffy yogurt that will have you reaching for seconds.
Nut Butter Swirl
For all the nut butter lovers out there, this one’s for you! Combining nut butter into your ice cream adds a delightful richness. Here’s how to do it:
- Start with a simple ice cream base (heavy cream and sugar)
- Swirl in 1/2 cup of your preferred nut butter (think peanut, almond, or cashew)
After combining the base, use your Ninja Creami to churn it into perfection, then swirl in the nut butter for a decadent treat. Perfect for fulfilling those cravings while providing a protein boost!
These Ninja Creami recipes can be mixed and matched, so don’t hesitate to experiment! Whether you’re treating yourself after a long day or entertaining friends, these variations are sure to impress. Want more inspiration? Check out Food Network for more fun ideas!
Baking Notes for Ninja Creami Recipes
Tips for Achieving Creamy Ice Cream Consistency
Achieving that perfect creamy texture in your Ninja Creami recipes is just a few steps away! Here are some friendly tips to keep in mind:
- Use Whole Ingredients: Opt for full-fat dairy or high-fat alternatives like coconut cream. This will enhance the creaminess of your ice cream.
- Chill Your Base: Always let your ice cream base chill in the fridge for at least a couple of hours before processing. This not only deepens flavors but also contributes to a smoother texture.
For some extra guidance, check out this fantastic resource on ice cream-making techniques.
Avoiding Icy Edges: Best Practices
Let’s tackle the dreaded icy edges that can ruin a good batch. Follow these practices:
- Optimal Freezing Time: Freeze your ice cream mixture for about 24 hours for best results, allowing the mixture to warm slightly before spinning.
- Mix-Ins Timing: Add mix-ins like nuts or chocolate chips just before processing in the Ninja Creami to avoid them sinking.
Remember, patience is key! If you manage these details, your Ninja Creami creations will be a hit every time. Happy baking!
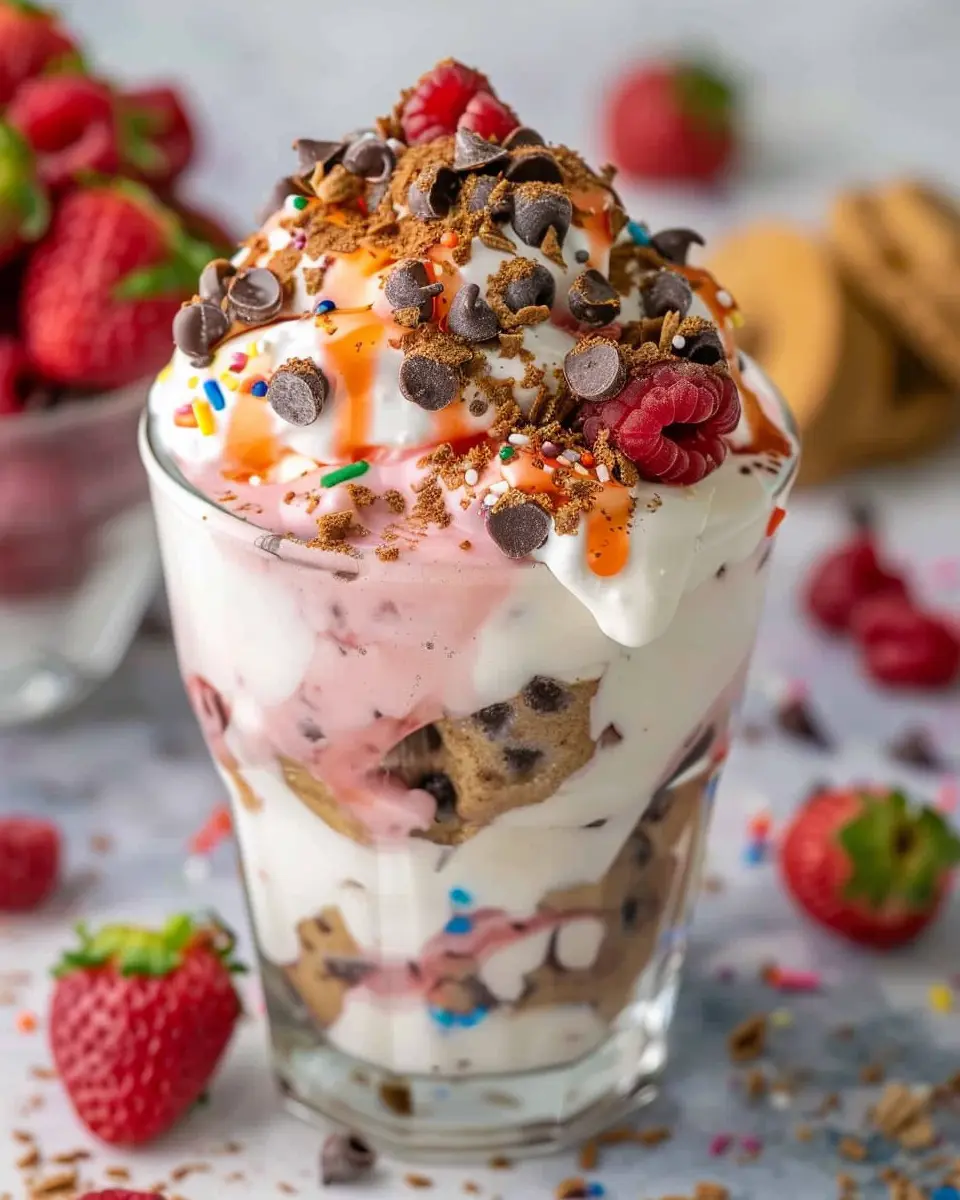
Serving Suggestions for Ninja Creami Recipes
Creating your own unique flavors with Ninja Creami recipes is just the beginning. Let’s explore some delightful serving suggestions to elevate your homemade ice cream experience.
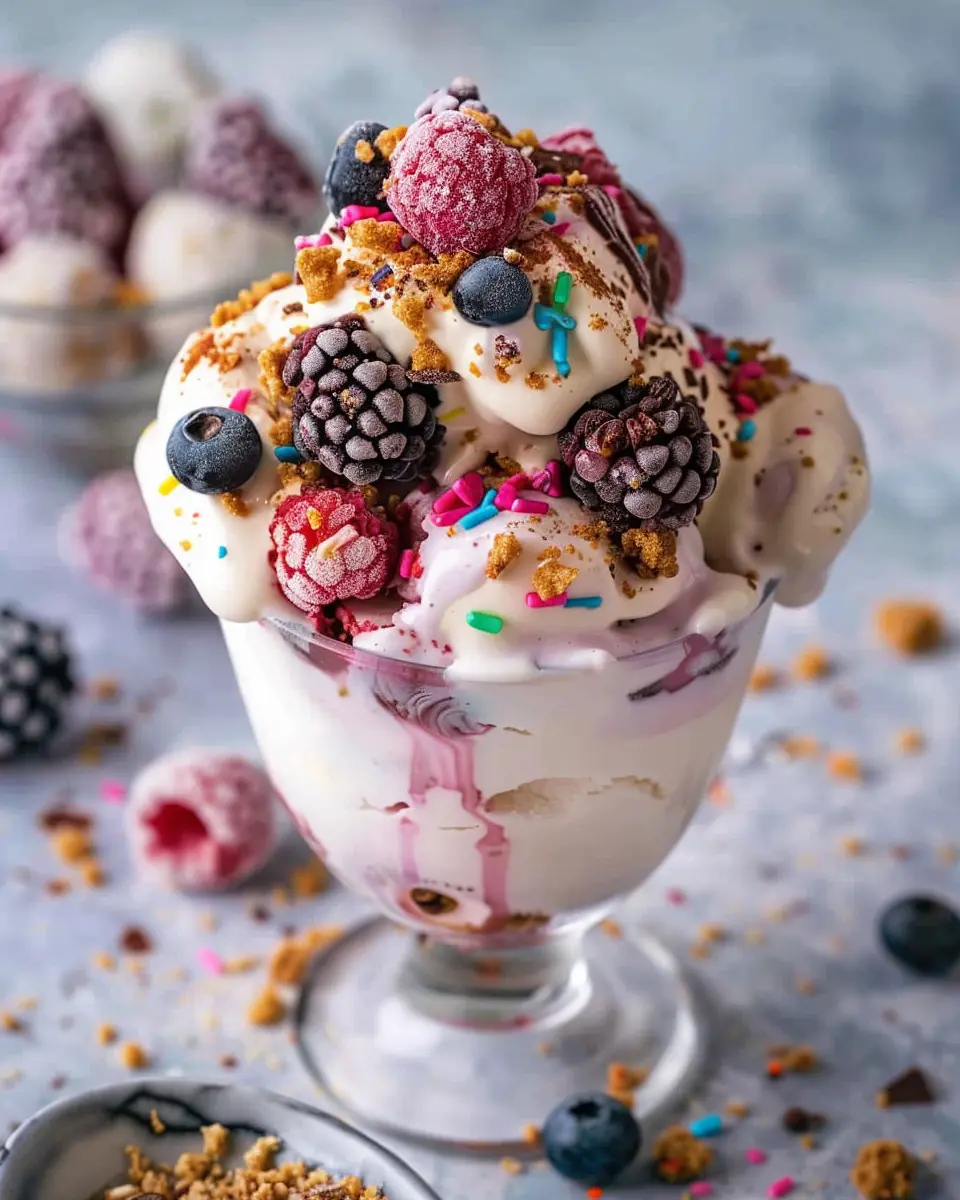
Suggested Toppings for Your Ice Cream
To enhance your Ninja Creami ice cream, consider these topping ideas:
- Fresh Fruit: Strawberries, blueberries, or banana slices add a refreshing touch.
- Nuts and Seeds: Chopped almonds, walnuts, or chia seeds provide a crunch.
- Sauces: Drizzle with chocolate or caramel sauce for a decadent feel.
- Whipped Cream: A dollop of whipped cream makes everything feel celebratory!
- Granola: For a breakfast twist, top your ice cream with granola for texture.
These toppings allow for personalization. Who doesn’t love a little customization?
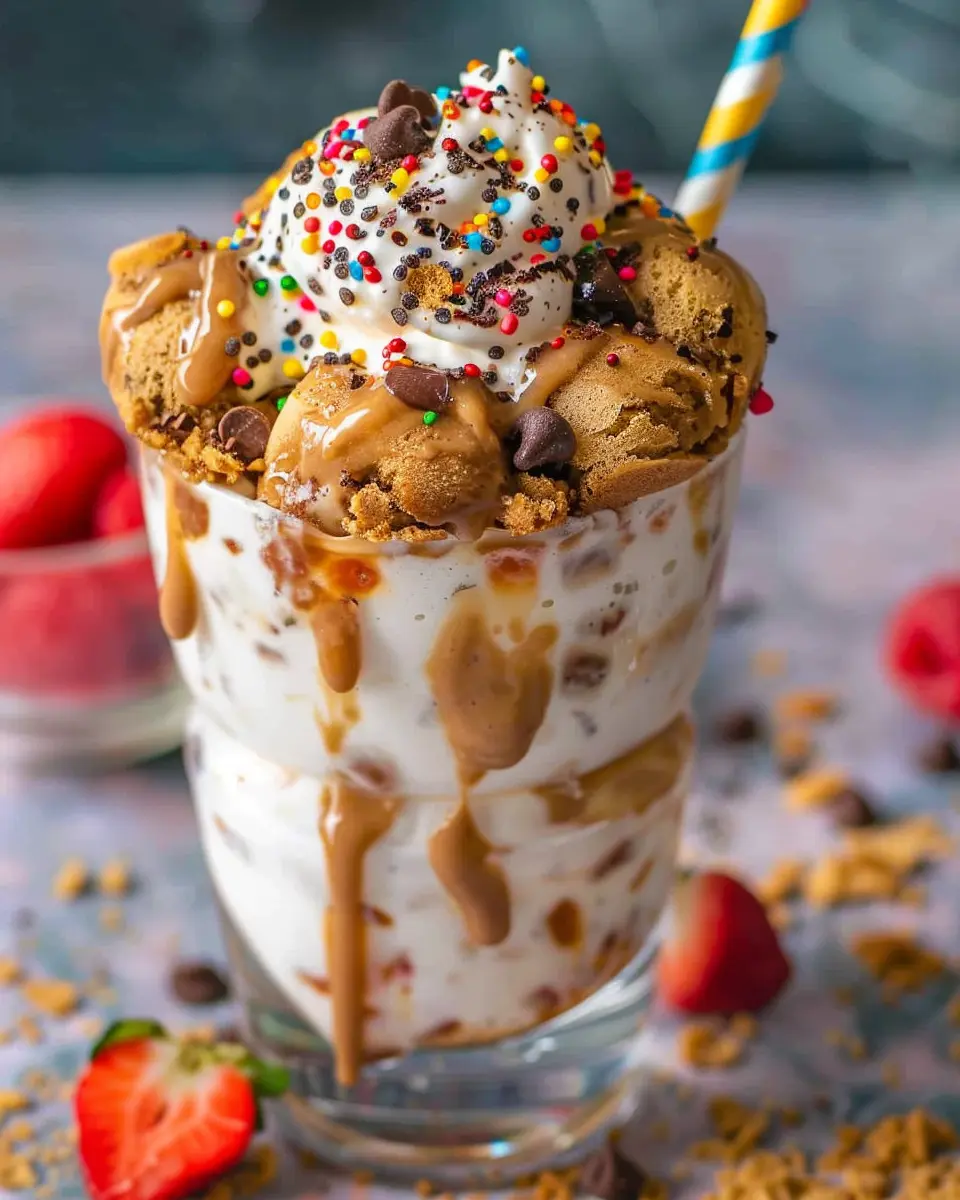
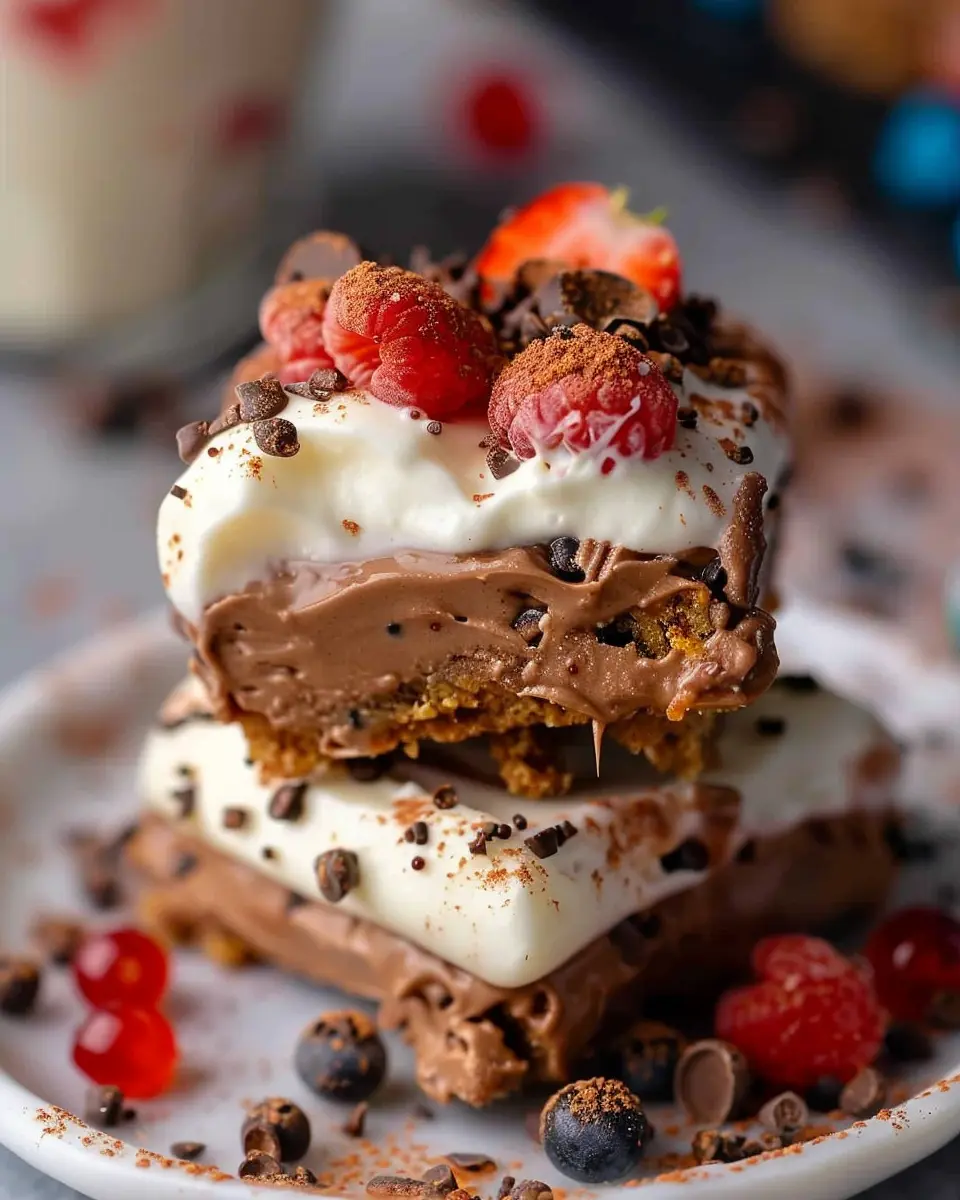
Creative Ways to Serve Homemade Ice Cream
Serving your Ninja Creami ice cream creatively can be a fun way to impress friends. Consider:
- Waffle Bowls: Use waffle bowls instead of traditional cones for a delightful surprise.
- Sundae Bar: Create a sundae bar with various toppings for gatherings.
- Layered Parfaits: Alternate layers of ice cream with fruits and granola in a glass for visual appeal.
Don’t be afraid to get inventive! After all, ice cream is all about enjoyment. For more inspiration, check out The Ice Cream Revolution to discover innovative serving techniques and toppings!
Tips for Making Perfect Ninja Creami Recipes
Timing for Freezing and Re-spinning
To achieve the creaminess you crave in your ninja creami recipes, timing is everything. Freezing your mixture for at least 24 hours ensures it reaches the ideal consistency. If you find the texture isn’t perfect after your first spin, don’t fret—just re-spin it! A quick second spin can transform a chunky base into an irresistibly smooth treat.
Importance of Proper Container Handling
Handling your containers properly can significantly affect your results. Make sure to use the recommended Ninja Creami containers for freezing. Avoid transferring the mixture to other containers before freezing, as this can introduce unwanted air and change the texture. Additionally, let the frozen base sit at room temperature for about 10 minutes before processing—this little tip can make a world of difference in achieving that silky finish.
For more insights on ice cream texture, check out this informative article from the Ice Cream Association.
How to Personalize Your Ice Cream Experience
One of the best parts of using your Ninja Creami is personalizing your frozen treats! Whether you’re a chocolate fan or prefer fruity flavors, don’t hesitate to experiment. Add your favorite mix-ins—like crushed cookies or fresh fruits—after the first spin for an extra layer of flavor. You can also explore alternative sweeteners or dairy-free options to match your dietary preferences.
Curious about more creative ingredients? Sites like Serious Eats offer delightful ideas to enhance your ninja creami recipes.
Time Details for Ninja Creami Recipes
When diving into the delightful world of Ninja Creami recipes, having a grasp on the timing involved can make all the difference. Here’s a handy breakdown to help you plan your culinary adventures:
Preparation Time
Most Ninja Creami recipes take about 10-15 minutes to prep. This includes gathering your ingredients, blending, and getting everything ready for the freezer.
Freezing Time
Freezing is crucial for achieving that perfect creamy texture. Plan for a freezing time of 24 hours to ensure your treats turn out just right.
Total Time
In total, you’re looking at about 24 hours and 15 minutes from start to finish for your delicious concoctions. For more tips on timing and textures, check out Ninja Kitchen for expert advice on maximizing your Ninja Creami experience.
Nutritional Information for Ninja Creami Recipes
Calories per Serving
When diving into Ninja Creami recipes, understanding the calorie content is crucial. Most of these delightful treats range between 150 to 300 calories per serving, depending on the ingredients you choose. For instance, swapping traditional sugars for natural sweeteners can significantly lower the calorie count, making it easier to indulge without guilt.
Breakdown of Key Nutrients
Alongside calories, the nutritional profile of your Ninja Creami creations can vary widely. Here are some key nutrients to consider:
- Protein: Many recipes incorporate yogurt, which can provide a good protein source (around 5-10 grams per serving).
- Fats: If you use full-fat dairy, expect around 8-15 grams of fat. Opting for lighter alternatives can bring this down.
- Fiber: Utilizing fruits or grains can add dietary fiber, ranging from 2 to 4 grams per serving.
Be sure to check USDA Nutrition Facts for detailed nutrient insights tailored to your selected ingredients. Knowledge is power, and understanding these facets will enhance your culinary experience!
FAQs about Ninja Creami Recipes
Whether you’re new to Ninja Creami recipes or a seasoned pro, you might have questions about how to make the most of your machine. Here are some common queries to help you create delicious frozen treats with ease.
Can I use non-dairy alternatives in my recipes?
Absolutely! The beauty of Ninja Creami recipes is their flexibility. You can easily substitute traditional dairy with non-dairy options like almond milk, coconut milk, or oat milk. These alternatives can yield creamy, delightful results, making your ice cream enjoyable for everyone, including those who are lactose intolerant or vegan. Just remember to choose unsweetened varieties if you want to control the sweetness!
How long can I store my homemade ice cream?
Homemade ice cream can generally last in the freezer for about 1 to 2 weeks when stored properly in an airtight container. After that, it may not taste as fresh, and the texture might suffer. If you want to stash your delightful treats for longer, consider placing a layer of plastic wrap directly on the surface before sealing the lid. This helps to minimize freezer burn and maintain that creamy texture.
What’s the best way to clean the Ninja Creami?
Cleaning your Ninja Creami is a breeze! After using it, simply rinse the bowl and blades with warm water and mild soap. For tougher stains, you can soak the parts for a few minutes before scrubbing gently. Just ensure you don’t immerse the base in water, as it should remain dry and free from moisture. For detailed maintenance tips, check out the official Ninja website for user manuals.
Feel empowered to experiment with your Ninja Creami recipes, and don’t hesitate to explore different flavors and textures. The world of homemade ice cream is at your fingertips!
Conclusion on Ninja Creami Recipes
Embracing Homemade Ice Cream Adventures
Embracing homemade ice cream adventures with Ninja Creami recipes opens up a world of flavor and creativity right in your kitchen. You can customize each recipe to cater to your unique tastes, whether you prefer fruity, creamy, or decadent combinations. Think about how satisfying it is to see your friends and family enjoy a treat you crafted yourself!
With numerous flavor possibilities, using fresh ingredients, and experimenting with fun add-ins, your Ninja Creami can be a source of joy and deliciousness. Check out resources like Serious Eats for innovative ideas and flavor pairings. Dive in, and let the ice cream adventures begin!
PrintNinja Creami Recipes: Easy and Indulgent Treats to Savor

Discover a collection of delicious and easy Ninja Creami recipes that will satisfy your sweet cravings. Perfect for any occasion!
- Prep Time: 15 minutes
- Total Time: 24 hours 15 minutes
- Yield: 4 servings 1x
- Category: Dessert
- Method: Frozen
- Cuisine: American
- Diet: Vegetarian
Ingredients
- 2 cups heavy cream
- 1 cup whole milk
- 1 cup sugar
- 1 teaspoon vanilla extract
- 1 cup chocolate chips
Instructions
- In a large bowl, combine the heavy cream, whole milk, sugar, and vanilla extract. Whisk until well blended.
- Stir in the chocolate chips.
- Pour the mixture into the Ninja Creami pint container and freeze for at least 24 hours.
- Once frozen, remove from the freezer and place the pint in the Ninja Creami machine.
- Process using the ‘Gelato’ setting until creamy and smooth.
- Serve immediately or refreeze for a firmer texture.
Notes
- For a unique flavor, try adding different extracts or mix-ins.
- Make sure to freeze the mixture for at least 24 hours for best results.
Nutrition
- Serving Size: 1 cup
- Calories: 300
- Sugar: 20g
- Sodium: 50mg
- Fat: 25g
- Saturated Fat: 15g
- Unsaturated Fat: 10g
- Trans Fat: 0g
- Carbohydrates: 30g
- Fiber: 0g
- Protein: 3g
- Cholesterol: 80mg
Keywords: Ninja Creami Recipes