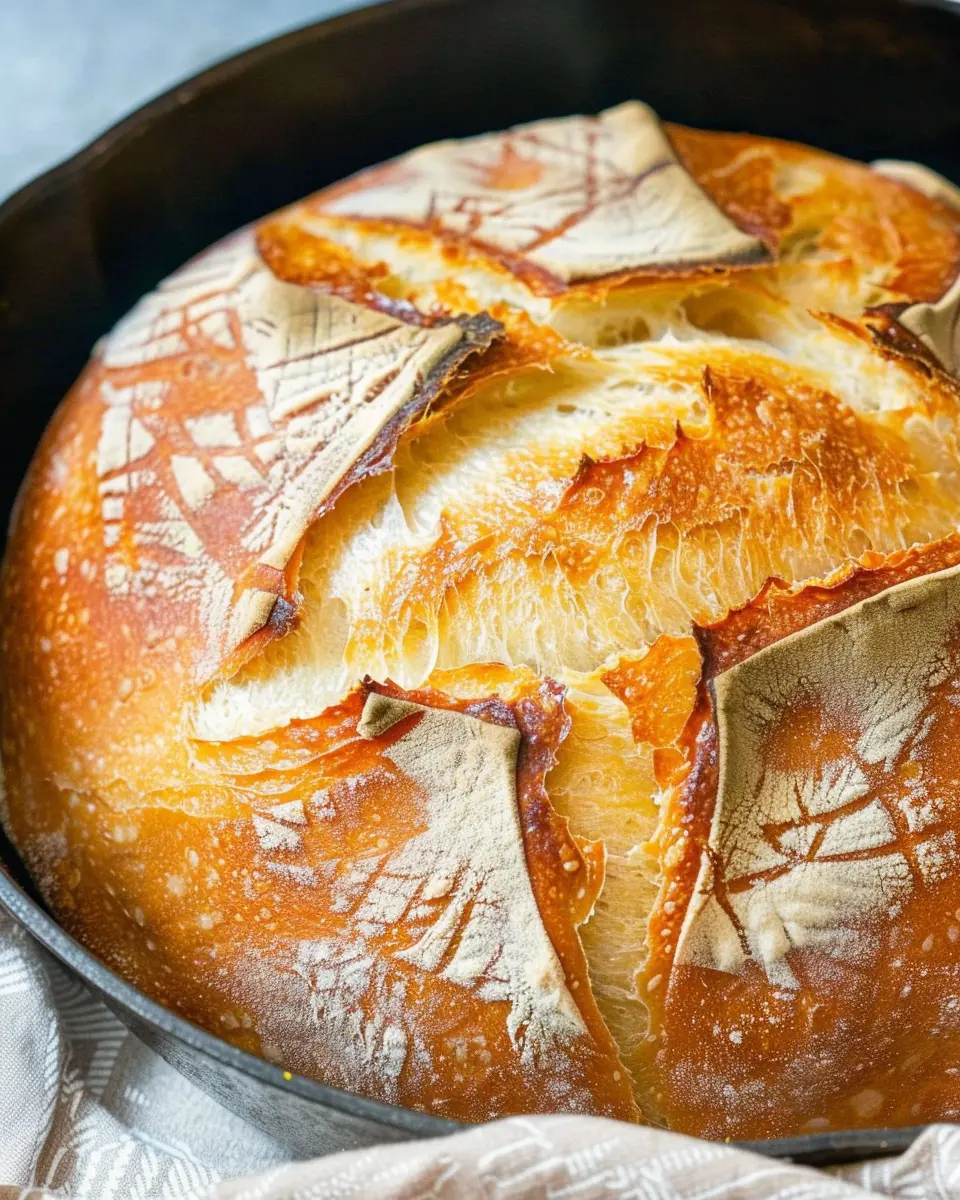
Introduction to Dutch Oven French Bread
Why Homemade Bread is Worth the Effort
Have you ever walked into a kitchen filled with the warm, inviting aroma of freshly baked bread? There’s something inherently comforting about that experience, isn’t there? The truth is, homemade bread offers more than just a delightful scent. It allows you to control the quality of the ingredients, ensuring that every slice is made with love. Plus, understanding the craft of bread-making can be incredibly satisfying.
Many people might shy away from baking bread because they think it’s too tough or time-consuming. However, baking your own bread can be a therapeutic experience that doesn’t require a Ph.D. in culinary arts! With this Dutch Oven French Bread recipe, you not only get to knead and shape your loaf, but you’ll also have the chance to impress friends and family with your skills. Imagine the pride of serving a beautiful loaf at your next gathering!
Benefits of Using a Dutch Oven for Bread Baking
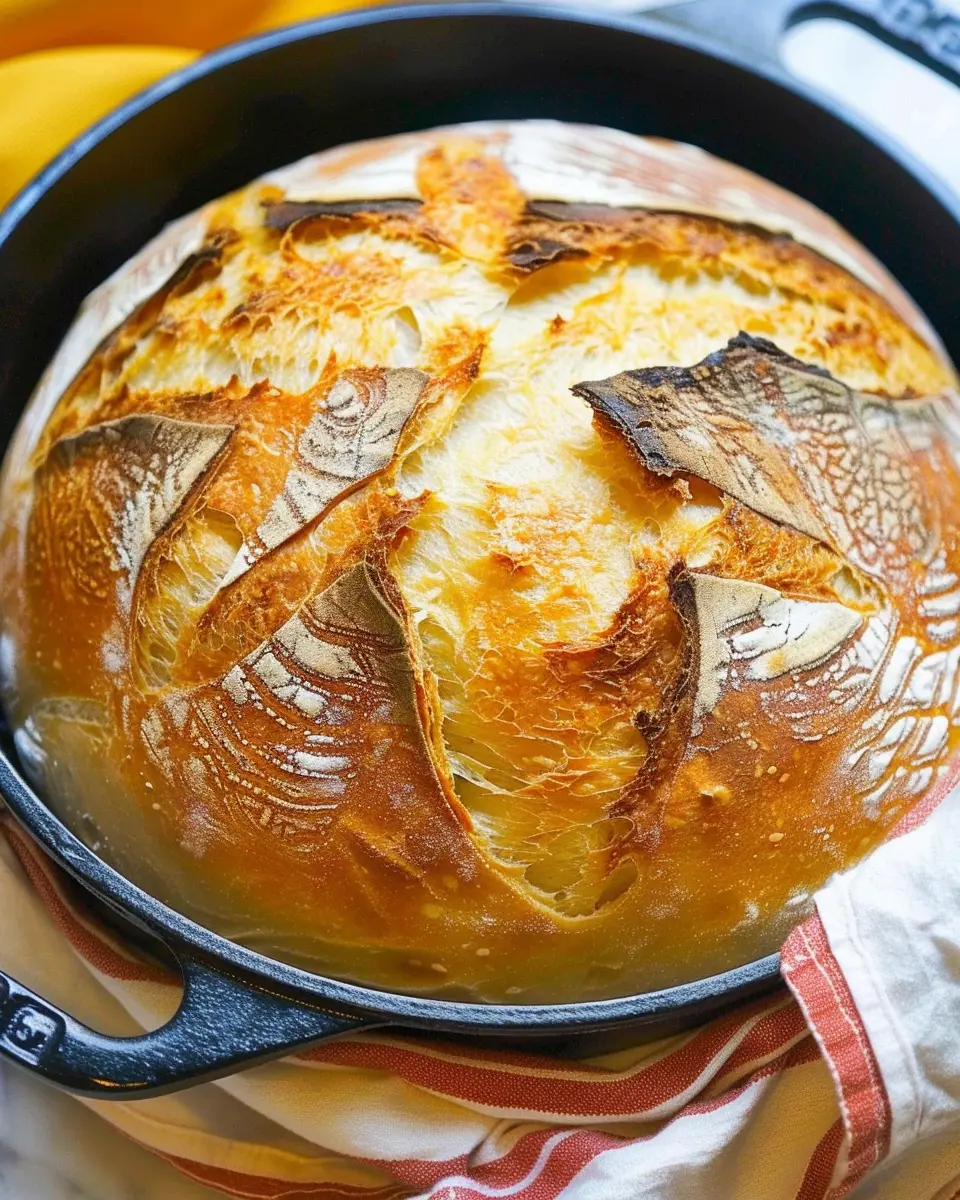
Now, let’s talk about why the Dutch oven is a game-changer in your quest for the perfect loaf. When you bake bread in a Dutch oven, you create a mini-oven that captures steam. This steam is essential for achieving that characteristic crispy crust while keeping the inside soft and fluffy.
Here are a few benefits of using a Dutch oven for your bread-baking adventures:
- Even Heat Distribution: Dutch ovens retain heat exceptionally well, leading to consistent baking results.
- Steam Control: The lid traps steam, which helps develop that gorgeous crust we all crave.
- Versatility: Beyond bread, you can use your Dutch oven for soups, stews, and roasted dishes, making it a worthy investment for your kitchen.
If you’re looking to dive deeper into bread-making techniques, resources like King Arthur Baking or The Bread Lab offer a wealth of information that can elevate your skills.
So, are you ready to roll up your sleeves and create your own Dutch Oven French Bread? Trust us; it’s a journey you’ll love embarking on.
Ingredients for Dutch Oven French Bread
Creating the perfect Dutch Oven French Bread starts with understanding its core components. Let’s break down what you need to get that irresistible crust and soft interior.
Essential Ingredients
To make delicious Dutch Oven French Bread, you’ll need:
- All-purpose flour: This forms the backbone of your bread, giving it structure.
- Water: Essential for hydrating the flour and activating the yeast.
- Yeast: Use active dry or instant yeast to help your bread rise beautifully.
- Salt: Not just for flavor, salt strengthens the dough and helps control fermentation.
- Sugar: A pinch of sugar nourishes the yeast, enhancing the bread’s flavor.
These staples form a simple yet effective foundation. You can experiment with different types of flour, such as bread flour, for a chewier texture.
Optional Add-Ins and Flavors
Once you’ve mastered the basics, you can personalize your Dutch Oven French Bread with some exciting additions. Consider:
- Herbs and spices: Rosemary, thyme, or garlic powder for an aromatic touch.
- Seeds: Sesame or poppy seeds can add nuttiness and crunch.
- Cheese: Incorporating shredded cheese like mozzarella can create a delightful cheesy crust.
Feel inspired? You can explore more variations at sites like King Arthur Baking or Baker’s Best. Happy baking!
Preparing Dutch Oven French Bread
Making Dutch Oven French Bread is a wonderful way to transform your kitchen into a cozy bakery. This rustic, crusty loaf is perfect for any occasion, whether you’re hosting a dinner or enjoying a quiet night in. Let’s walk through the steps together, ensuring your bread turns out beautifully every time.
Mixing the Dough
Start by gathering your ingredients: bread flour, water, salt, and yeast. The quality of your flour will make a difference, so opt for a high-protein bread flour for that perfect texture.
- In a large mixing bowl, combine 3 cups of bread flour, 1 ½ teaspoons of salt, and 1 packet of instant yeast (about 2 ¼ teaspoons).
- Gradually add 1 ¼ cups of warm water (between 100°F – 110°F). Mix until a shaggy dough forms. This is an important step—don’t rush it!
If you’re curious to learn more about the importance of each ingredient, check out this guide on bread-making essentials.
Kneading the Dough
Once your dough is mixed, it’s time to bring it to life by kneading. Knead the dough right in the bowl or on a floured surface for about 8-10 minutes, until it’s smooth and elastic.
- Use a push-fold-turn technique:
- Push the dough away with your palms.
- Fold it back on itself.
- Turn it a quarter turn and repeat.
Kneading develops gluten, which gives your bread structure and chew. Don’t skip this step!
First Rise – Letting the Dough Rest
Now that your dough is kneaded, place it in a lightly oiled bowl and cover it with a damp cloth. Let it rise in a warm, draft-free environment for about 1 to 2 hours, or until it has doubled in size.
This rising time is crucial; it allows the yeast to work its magic. Take this time to perhaps go for a quick walk or prep some delicious toppings for your bread!
Shaping the Loaf for the Dutch Oven
After the first rise, gently punch down your dough to release excess gas. Turn it out onto a lightly floured surface, and shape it into a round loaf—think of it like tucking in your shirt for a neat appearance!
- Grab the edges and gently fold them into the center.
- Flip the loaf over so the seam is on the bottom, and use your hands to create tension by spinning it in circles against the work surface.
Feel free to take inspiration from this shaping guide.
Second Rise – Proving the Dough Again
After shaping, cover your loaf with a clean towel or lightly greased plastic wrap, letting it rise for another 30-60 minutes. This second rise ensures a lovely airy texture.
As you wait, preheat your oven to 450°F (232°C) and place your Dutch oven (with its lid) inside—this mimics the steam ovens bakers use for crusty bread.
Scoring and Prepping for Baking
Now we’re ready to score your loaf! Using a sharp knife or bread lame, make a few slashes on the top of the dough. This step isn’t just decorative; it allows the bread to expand while baking.
Once scored, carefully remove the preheated Dutch oven. You can either sprinkle a bit of flour on the bottom or place a piece of parchment paper to prevent sticking.
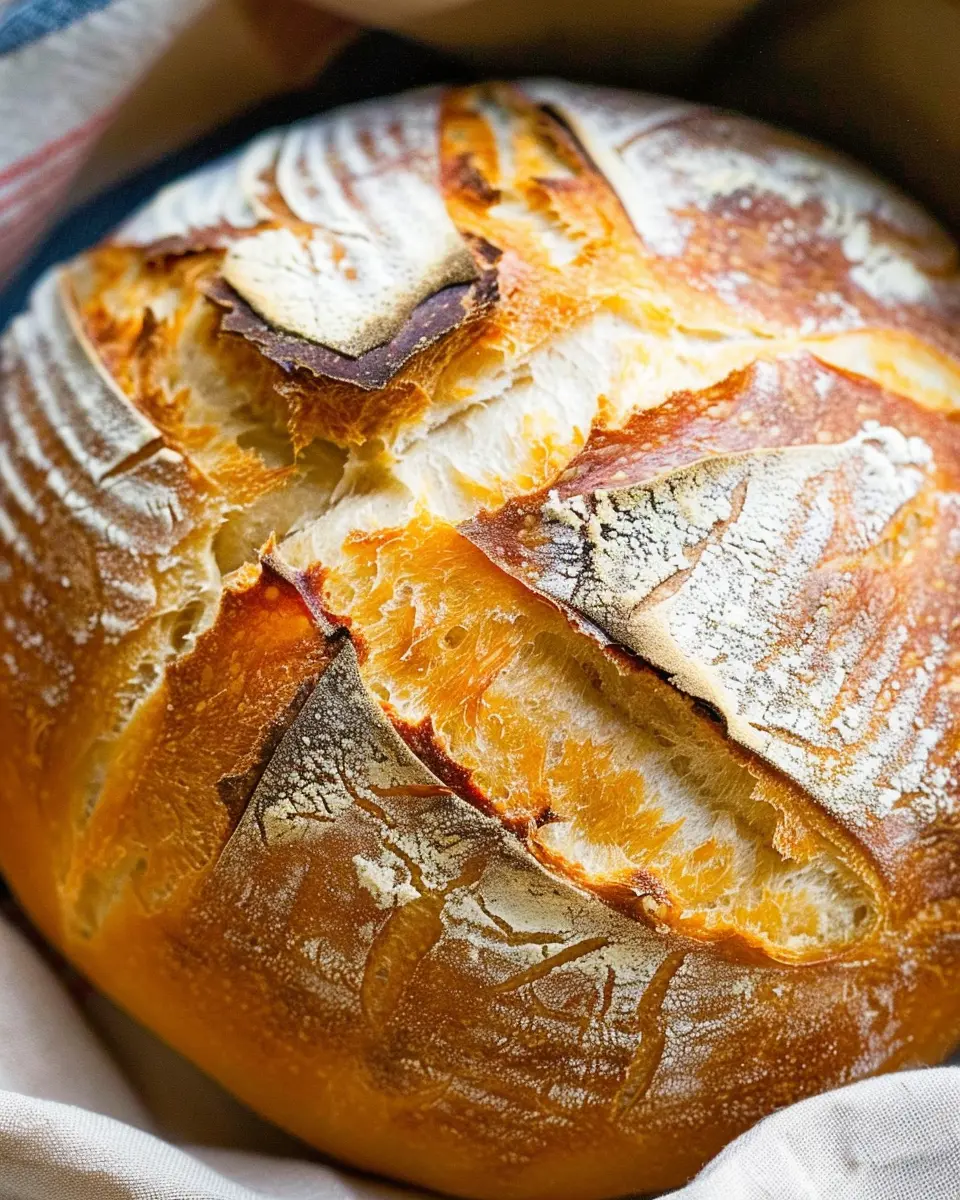
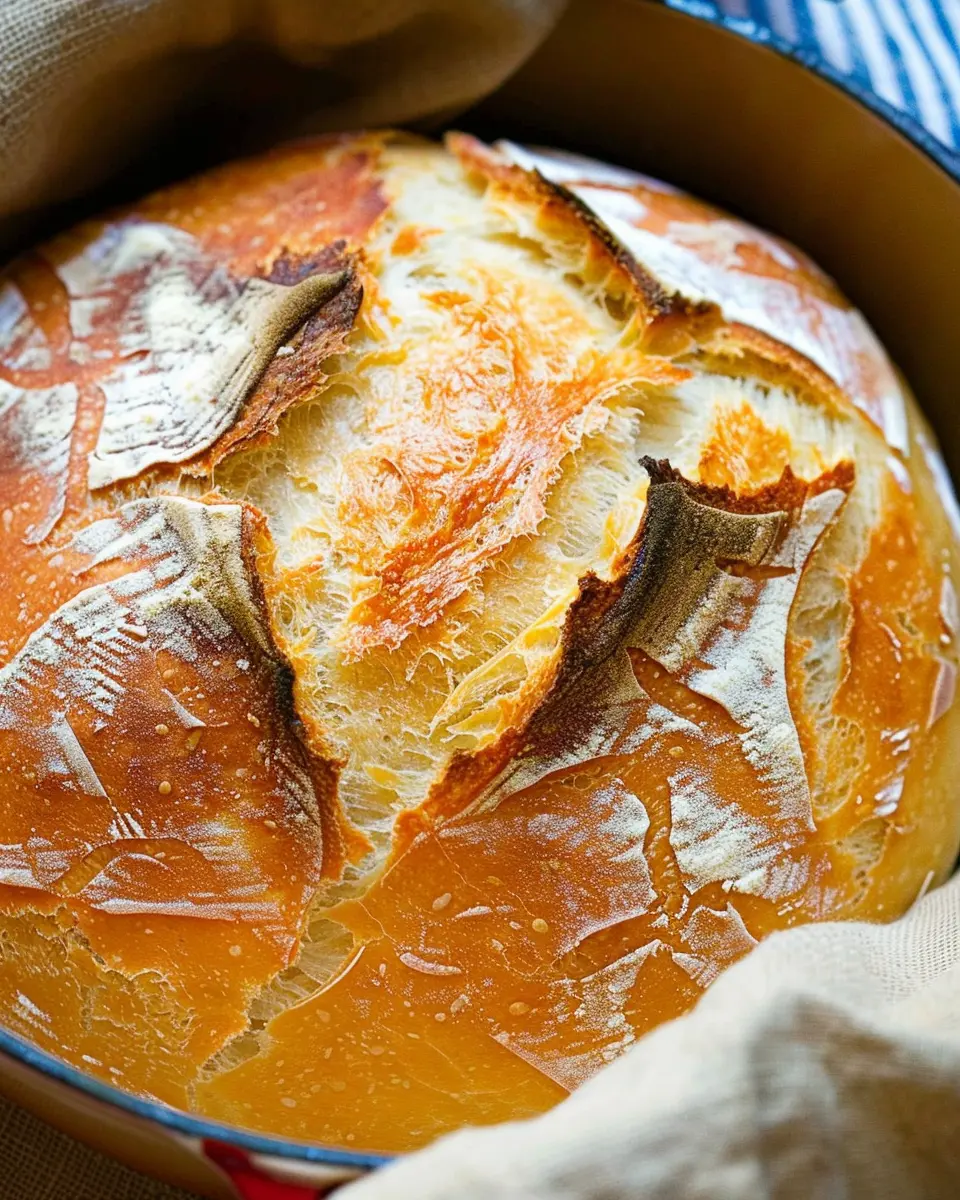
Baking the Bread in the Dutch Oven
Carefully transfer the loaf into the hot Dutch oven. Cover it with the lid and bake for 30 minutes. After that, remove the lid and bake for an additional 15-20 minutes until the crust is a beautiful golden brown.
Once done, allow your Dutch Oven French Bread to cool on a wire rack. The wait is the hardest part, but the rewards are divine. Enjoy the delightful aroma filling your kitchen and get ready to slice into a perfect loaf.
With a bit of patience and some love, you’ll have a beautiful homemade French bread. Not only is it satisfying to bake, but it’s also perfect for serving with hearty soups or spreading with your favorite toppings. Happy baking!
Variations on Dutch Oven French Bread
Herb and Garlic Infused Bread
If you’re looking to elevate your Dutch Oven French Bread, consider infusing it with delightful flavors of herbs and garlic. To do this, simply add:
- 2-3 cloves of minced garlic to your dough,
- A tablespoon of dried herbs like rosemary, thyme, or oregano.
For an even more robust flavor, sauté the garlic in a bit of olive oil before mixing it into your dough. This not only intensifies the garlic flavor but also adds a lovely aroma to your bread while baking. The result? A crusty loaf with a savory punch—perfect for accompanying soups or serving with a cheese platter. You can read more about the benefits of using fresh herbs in your baking at The Spruce Eats.
Whole Wheat or Multigrain Options
For those seeking a healthier alternative, transforming your Dutch Oven French Bread into a whole wheat or multigrain delight is both simple and rewarding. You can substitute up to half of the all-purpose flour with whole wheat flour or a multigrain blend. This change not only adds fiber but also enhances the bread’s nutty flavor and texture.
- Choose a mix that includes oats, millet, or spelt for an earthy taste.
- Remember to also adjust your water content slightly, as whole grain flours absorb more moisture.
As a bonus, whole grains are packed with nutrients—something your body will surely appreciate! For nutritional guidance, check out the Whole Grains Council.
Feel free to experiment with these variations, and find the perfect rendition of Dutch Oven French Bread that suits your palate!
Baking Notes for Dutch Oven French Bread
Tips for Perfect Crust and Texture
When making Dutch Oven French Bread, a crispy, golden crust is key. Preheating your Dutch oven is crucial; aim for at least 30 minutes at 450°F. This traps steam within the pot, giving your bread that characteristic crust. Also, consider doing a quick score on top before baking — this allows for controlled expansion, shaping the look of your bread as it rises.
To enhance the texture, use bread flour for a chewier crumb and be mindful of your dough’s hydration. A wetter dough can lead to steam creation, yielding a lovely open crumb structure. If you’re looking for more guidance, check out this guide on bread flour benefits.
Common Mistakes to Avoid
Even seasoned bakers can stumble upon a few common missteps.
- Skip the lid during the last 15 minutes of baking for a less crispy crust.
- Avoid opening the oven too frequently; you’ll let out precious heat.
- Don’t forget to let your bread cool completely before slicing.
By steering clear of these pitfalls, you’ll be well on your way to mastering Dutch Oven French Bread! Remember, practice makes perfect, so don’t be discouraged by early attempts. Happy baking!
Serving Suggestions for Dutch Oven French Bread
Pairing with Soups and Salads
There’s something about Dutch Oven French Bread that makes it the perfect companion for a cozy soup or a fresh salad. Imagine dipping that crusty loaf into a hearty vegetable soup or pairing it with a zesty Caesar salad. Not only does the bread soak up delicious flavors, but its texture offers a satisfying contrast to your meal. If you’re trying to be a bit healthy, consider a side of roasted vegetable salad drizzled with a homemade vinaigrette. Need inspiration? Check out this creamy tomato soup recipe that’ll melt in your mouth alongside your fresh bread.
Creative Toppings and Spreads
Why stop at simply slicing your Dutch Oven French Bread? Elevate your bread game with fun toppings and spreads! Try a classic garlic butter spread, or mix cream cheese with fresh herbs for a lighter, flavorful twist. For something heartier, consider turkey bacon and sliced avocado on top. It’s a quick and delicious way to enjoy your bread during brunch or an afternoon snack. You could even make mini crostinis topped with chicken ham and a hint of fig jam for a sophisticated appetizer. Explore combinations and let your creativity take the lead!
Time Details for Dutch Oven French Bread
When making your delicious Dutch Oven French Bread, it’s important to keep track of the time to ensure perfect results. Here’s a breakdown of what you can expect:
Preparation Time
You’ll want to set aside about 15-20 minutes for preparation. This includes mixing your ingredients and kneading the dough until it’s smooth and elastic.
Rising Time
Patience is key during the rising stage, as this usually takes around 1 to 2 hours. The dough needs ample time to double in size, so find a warm spot in your kitchen for the best results.
Baking Time
The final touch is baking, which generally takes about 30-40 minutes. In this step, your Dutch Oven French Bread transforms into a golden, crusty delight. Remember, let it cool before slicing to maintain that perfect texture!
For more tips on baking bread at home, consider reading articles from sources like King Arthur Baking or The Bread Lab. Enjoy your baking adventure!
Nutritional Information for Dutch Oven French Bread
Calories per Serving
When it comes to enjoying homemade Dutch Oven French Bread, you’ll be pleased to know that one slice contains approximately 120-150 calories. This makes it a delightful choice for any meal without overwhelming your calorie count.
Macros Breakdown
Now, let’s break down the macronutrients in this tasty bread:
- Carbohydrates: Typically around 25-30 grams per slice, perfect for energizing your day.
- Protein: Each slice offers about 4-5 grams, contributing to muscle repair and overall health.
- Fat: With minimal fat—usually around 1 gram—this bread is light and can easily fit into a balanced diet.
This Dutch Oven French Bread not only fills your home with a delightful aroma but also provides a rewarding nutritional profile. If you want to give your bread making a health boost, consider using whole wheat flour or adding seeds for fiber. Curious about flour types? Check out this article on Nutrition in Baking to explore more!
FAQs about Dutch Oven French Bread
Why Use a Dutch Oven for Bread?
Using a Dutch oven to bake French bread is a game changer. The heavy cover traps steam, creating a moist environment that results in a crispy crust and a soft, airy interior. This method mimics traditional bakery ovens, allowing your loaves to rise beautifully. Plus, it’s super forgiving for beginners! You can easily monitor your bread’s progress through the clear lid, ensuring a perfect bake every time. Want to dive deeper into the science of baking? Check out this interesting article on bread-making.
Can I Use Other Types of Flour?
Absolutely! While the classic recipe for Dutch Oven French Bread often calls for all-purpose flour, feel free to experiment. Whole wheat flour adds a nutty flavor and more fiber, while bread flour will give your loaf extra chewiness due to its higher protein content. Just keep in mind that the texture and taste may vary slightly. If you’re curious about gluten-free options, consider using a blend of gluten-free flours designed for bread baking. Want to learn more about flour types? Check out this guide on different flours used in baking.
How Do I Store My Homemade Bread?
To keep your Dutch Oven French Bread fresh, wrap it in a clean kitchen towel and store it at room temperature for up to three days. If you want to keep it longer, consider slicing and freezing the bread. Place slices in an airtight bag, and they’ll be good for up to three months. When you’re ready to enjoy, simply toast or warm the slices in the oven for that just-baked taste!
With these tips, your bread-making adventures will be smooth sailing. Happy baking!
Conclusion on Dutch Oven French Bread
Encouragement to Bake and Experiment
Baking Dutch Oven French Bread is not just a cooking task; it’s an experience! Don’t hesitate to dive in and let your creativity shine. Try out different flours, add herbs, or incorporate garlic for an exciting twist. The beauty of baking is in the experimentation—each loaf is a chance to learn something new. And remember, even if it doesn’t turn out perfect, it’s still delicious homemade bread!
Share your baking journey online or with friends, and draw inspiration from sources like Baker Bettie and King Arthur Baking Company for additional tips. Happy baking!
PrintDutch Oven French Bread: Easy Steps for Perfect Homemade Loaves
Learn how to make delicious and crusty French bread in your Dutch oven with this easy recipe. Perfect for any occasion!
- Prep Time: 10 minutes
- Cook Time: 45 minutes
- Total Time: 12-18 hours (includes rising time)
- Yield: 1 loaf 1x
- Category: Bread
- Method: Baking
- Cuisine: French
Ingredients
- 3 cups all-purpose flour
- 1 1/2 teaspoons salt
- 1 teaspoon sugar
- 1/4 teaspoon active dry yeast
- 1 1/2 cups warm water
Instructions
- In a large bowl, combine flour, salt, sugar, and yeast.
- Add warm water and mix until combined.
- Cover and let rise for 12-18 hours.
- Preheat your Dutch oven to 450°F (232°C).
- Shape the dough into a ball and let it rest for 30 minutes.
- Bake in the preheated Dutch oven for 30 minutes with the lid on.
- Remove the lid and bake for an additional 15-20 minutes until golden brown.
- Let cool before slicing.
Notes
- For a chewier crust, try using bread flour instead of all-purpose flour.
- Letting the dough rise longer will develop better flavor and texture.
Nutrition
- Serving Size: 1 slice
- Calories: 120
- Sugar: 0g
- Sodium: 200mg
- Fat: 1g
- Saturated Fat: 0g
- Unsaturated Fat: 0g
- Trans Fat: 0g
- Carbohydrates: 25g
- Fiber: 1g
- Protein: 4g
- Cholesterol: 0mg
Keywords: Dutch Oven French Bread